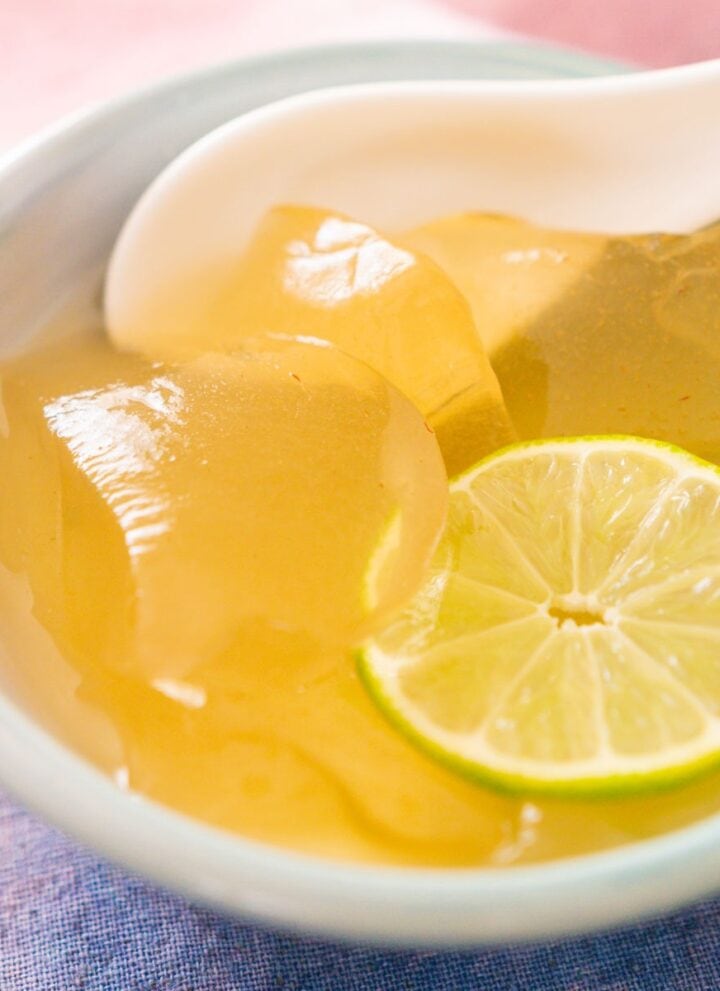
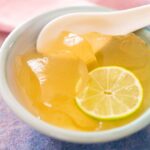
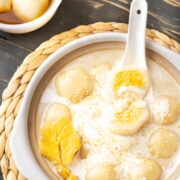
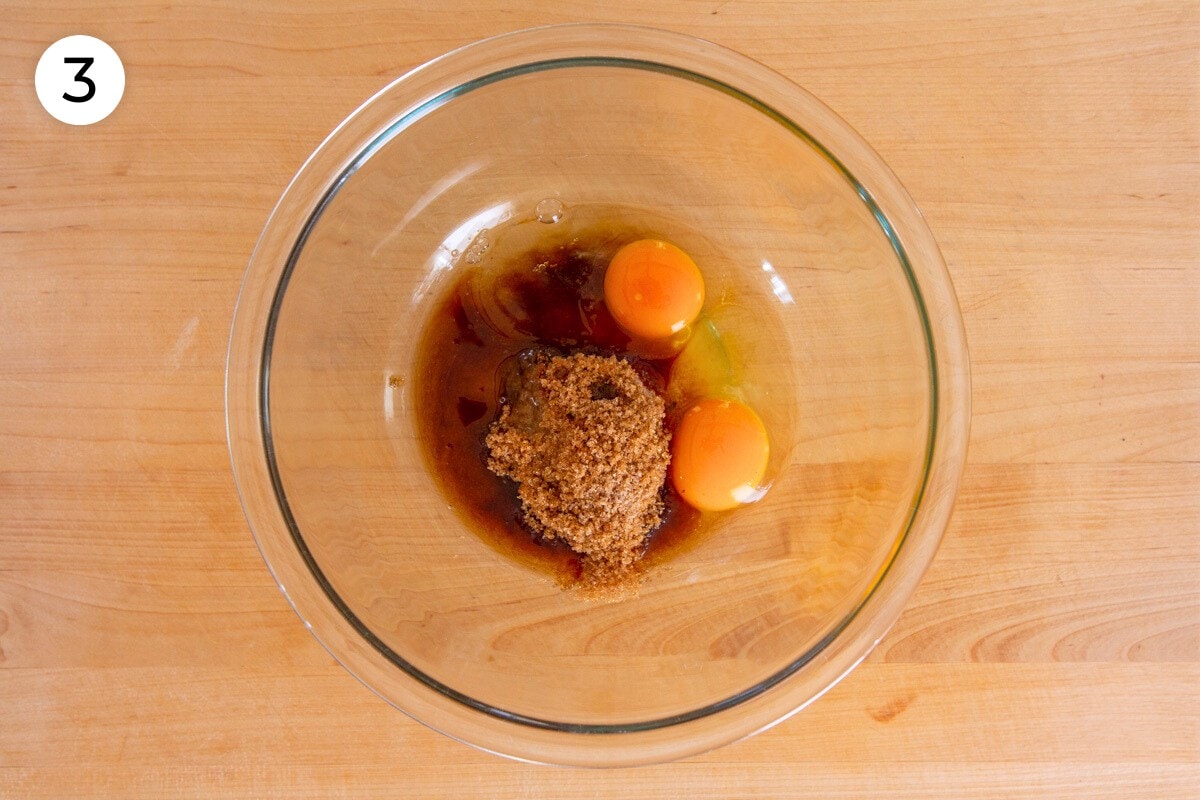
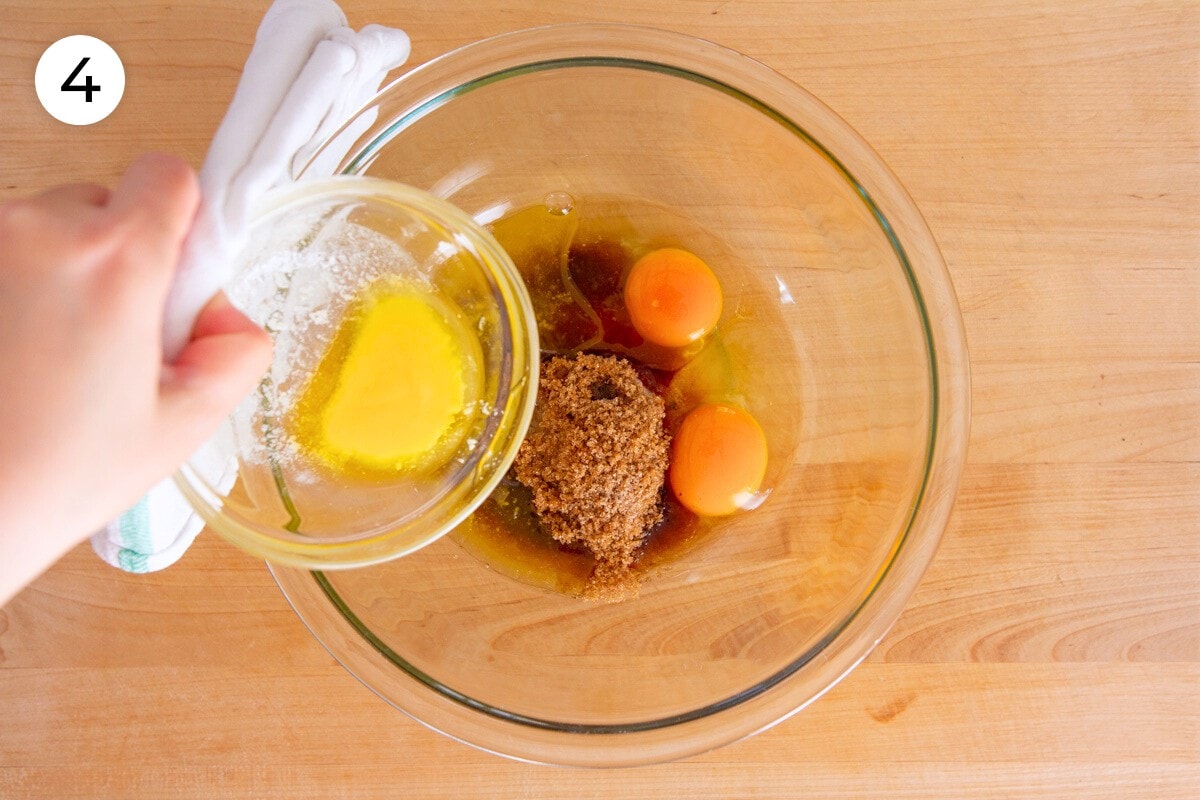
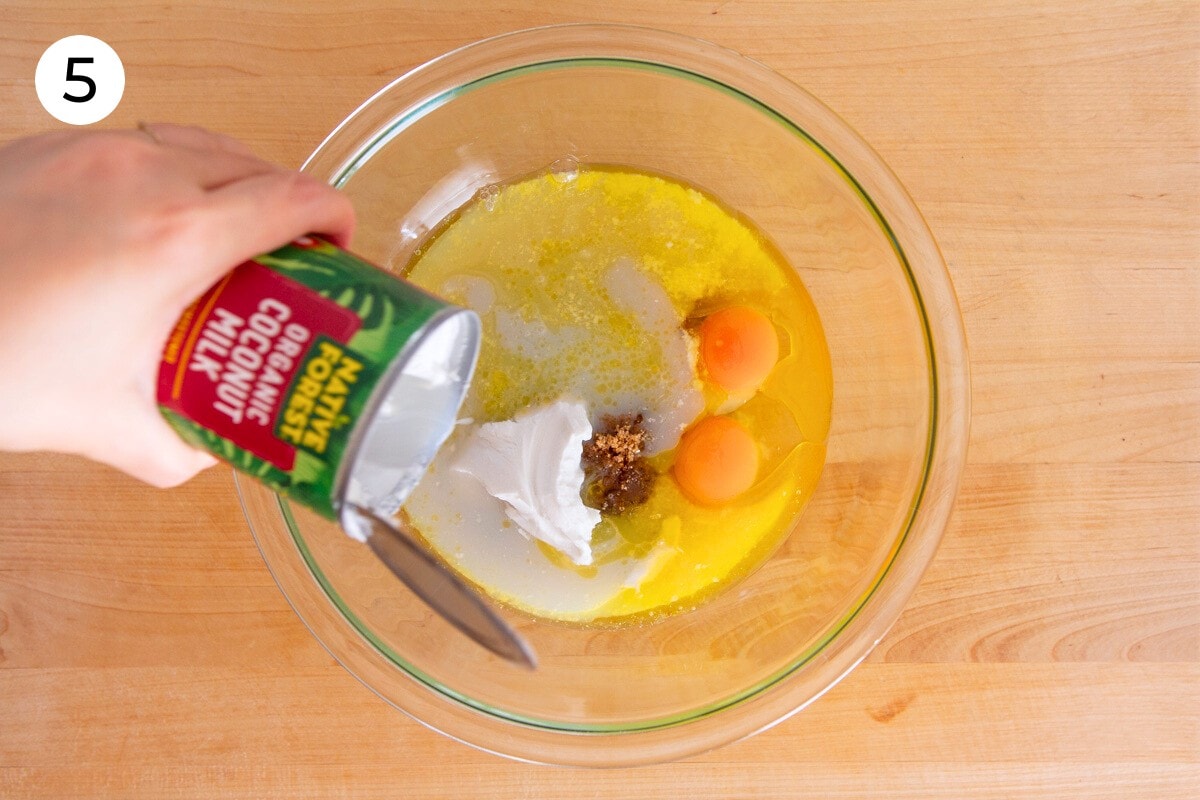
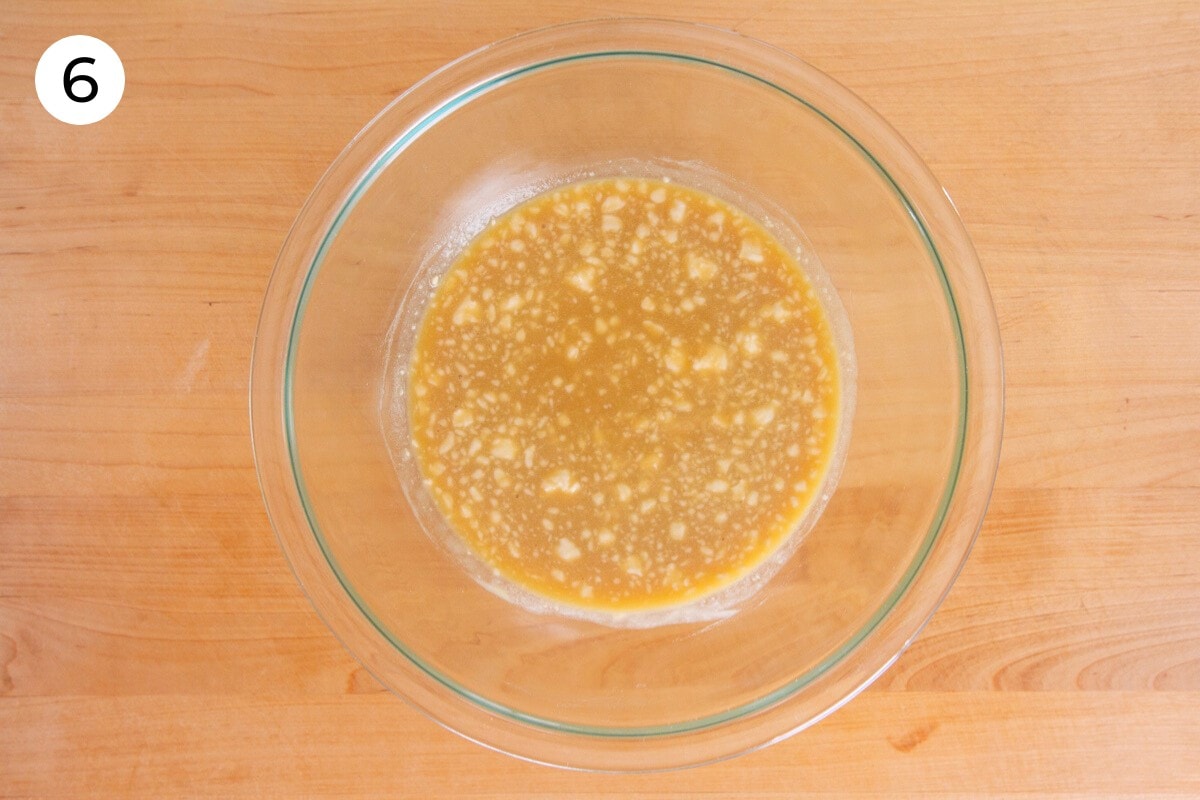
This easy aiyu jelly is an unforgettable Taiwanese dessert that’s light, refreshing, and perfect on a hot summer day. Traditionally sold in food stalls and night markets in Taiwan, this naturally made jello-like dessert can be enjoyed in multiple ways.
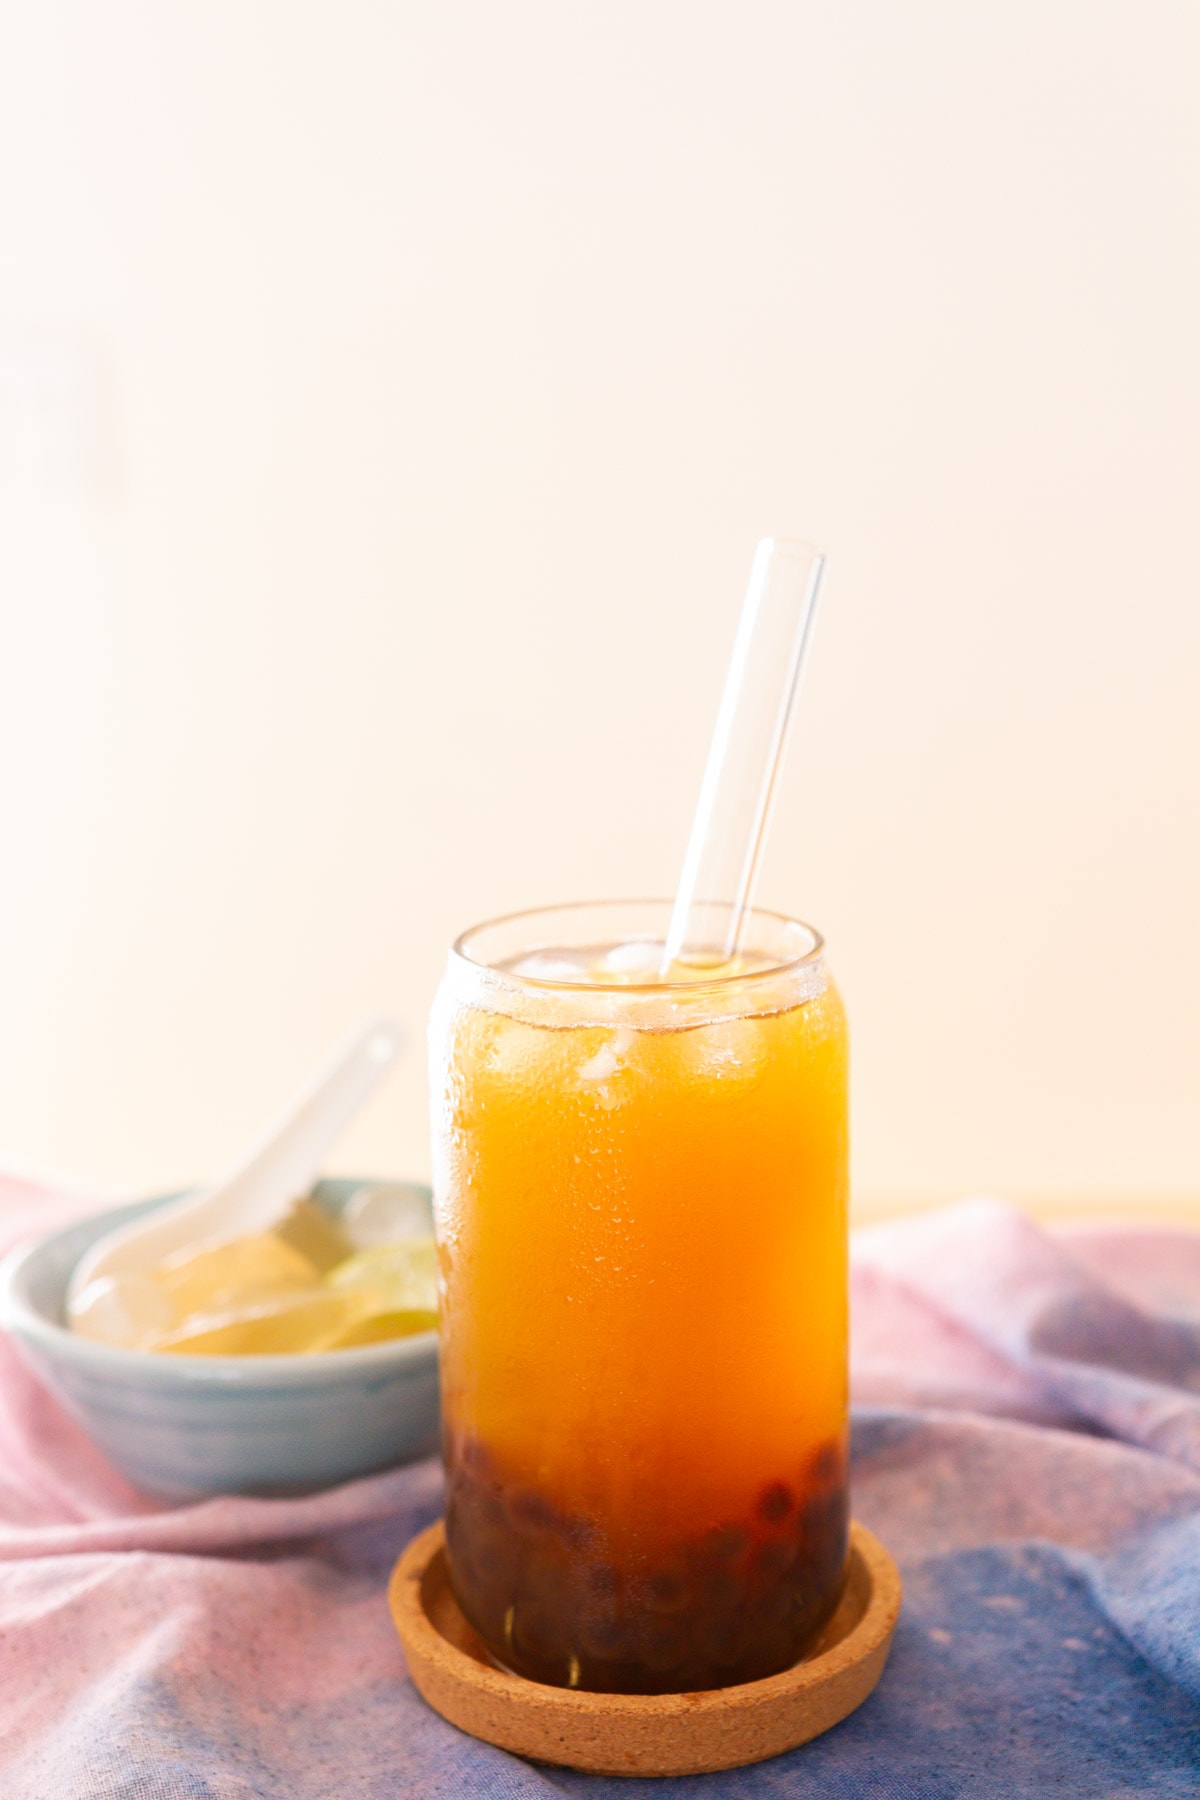
Serve it with ice and lemon honey water or as a topping in a bubble tea drink! I'll walk you through all the steps (with photos) so that you can make aiyu just like the ones in Taiwan – golden and delicious.
✨ why you'll love this recipe
Ai yu jelly 愛 玉 (chí-á in Taiwanese, or ài yù in Mandarin, Chinese) is one of Taiwan’s most notorious desserts! Its delicate flavor pairs effortlessly with so many different flavor profiles as a topping, and the soft and tender texture makes it a favorite treat!
recipe highlights
- Delicious and cooling
- Enjoyed in a variety of ways
- Pectin (in aiyu) is a source of fiber
- It's plant-based
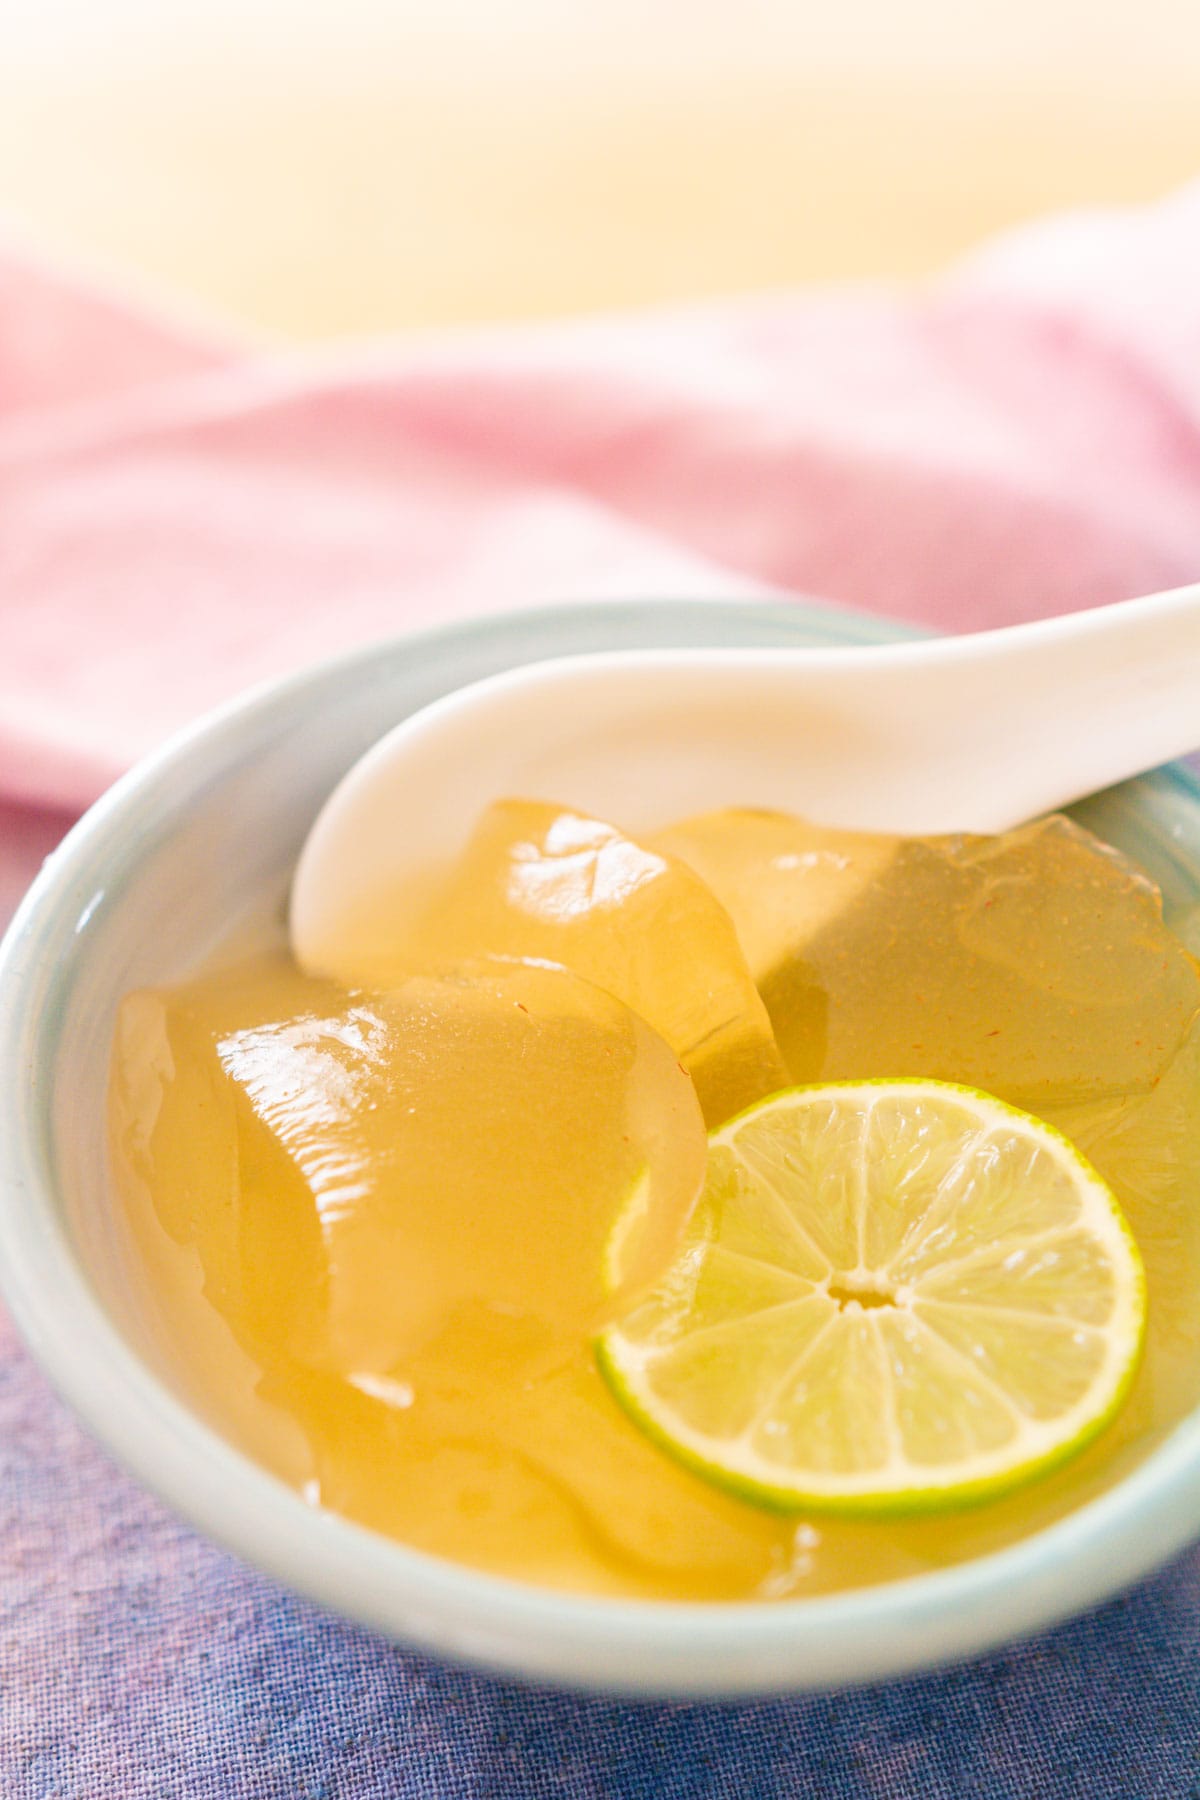
In this recipe, it's served traditionally - with honey lemon (or lime) water and ice - for a refreshing jelly citrus dessert.
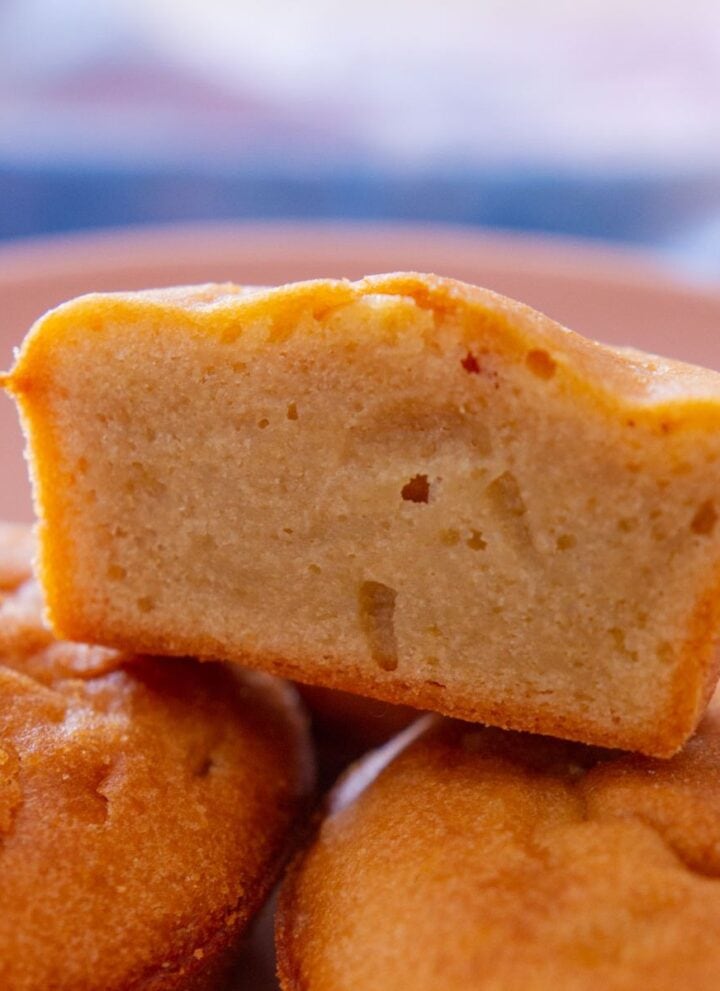
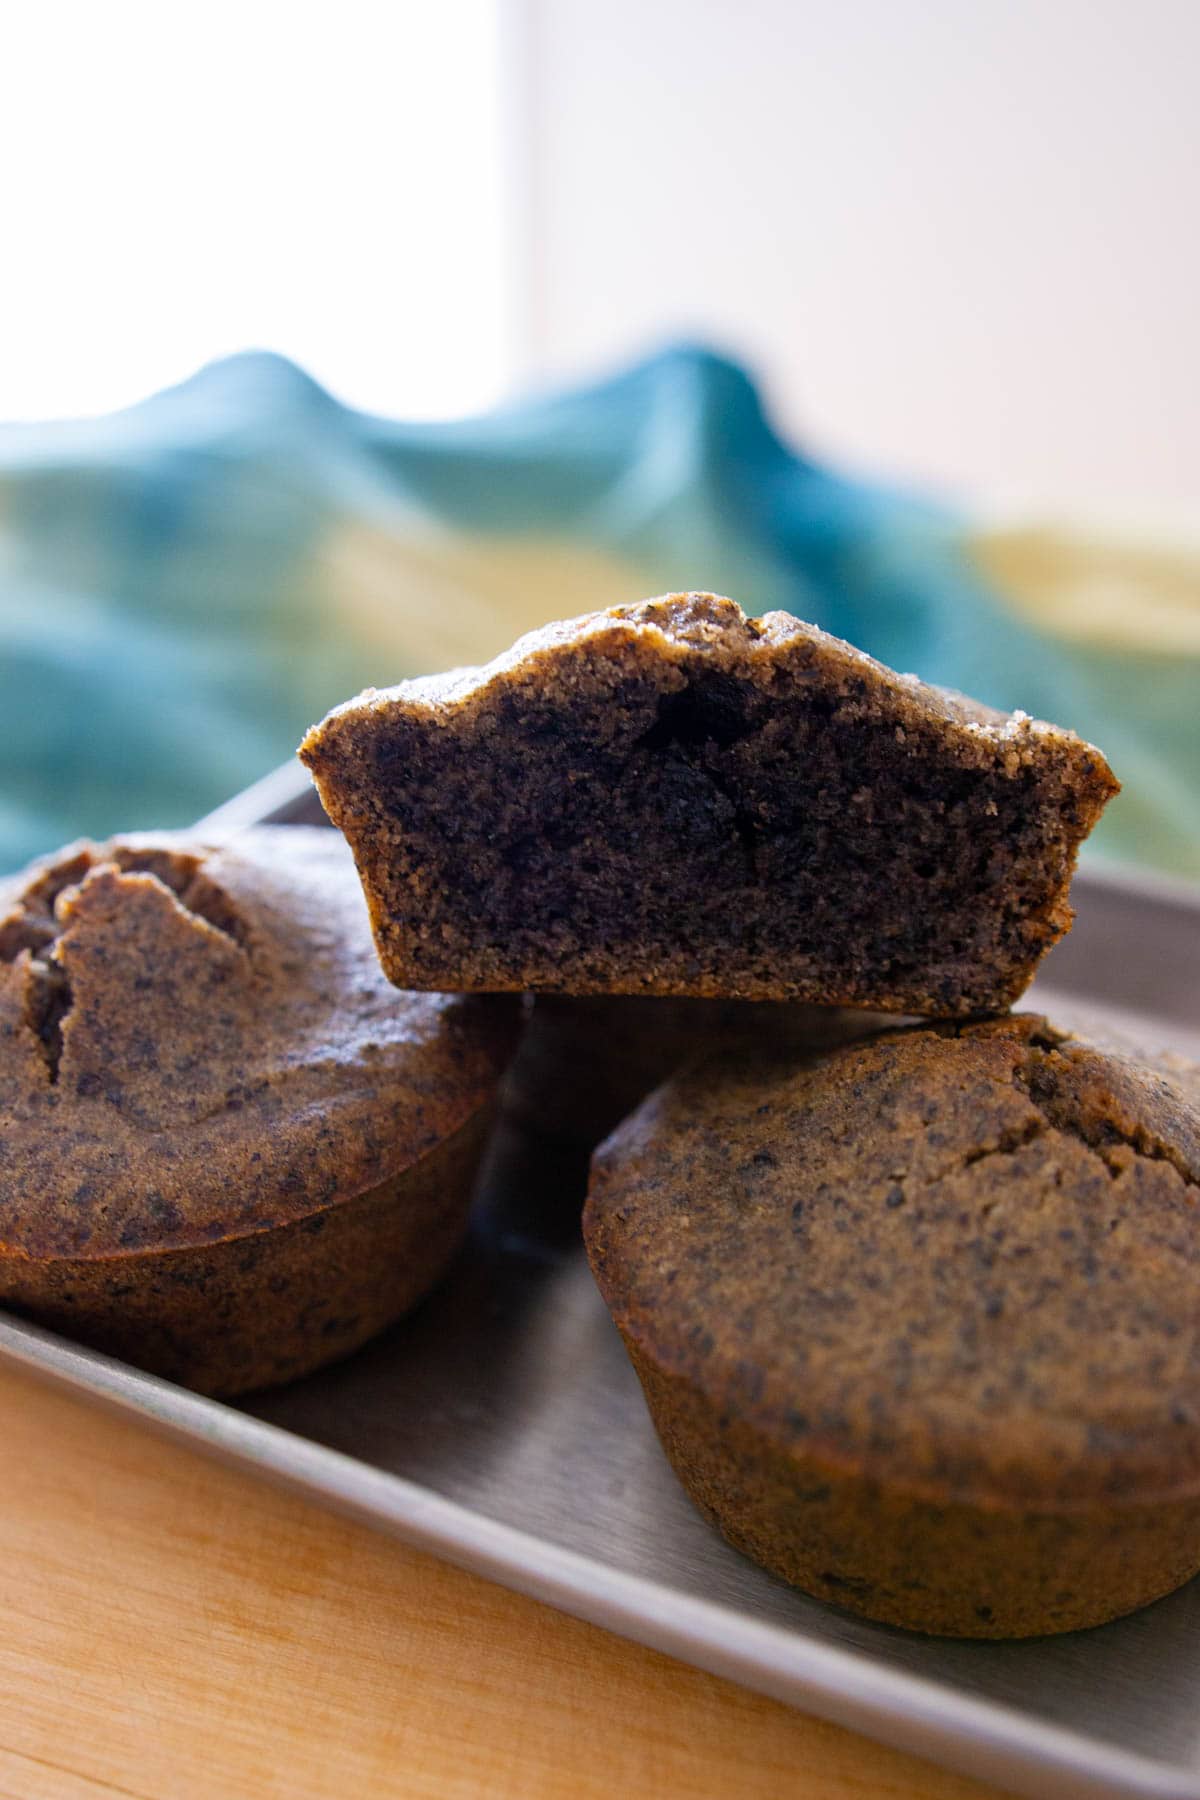
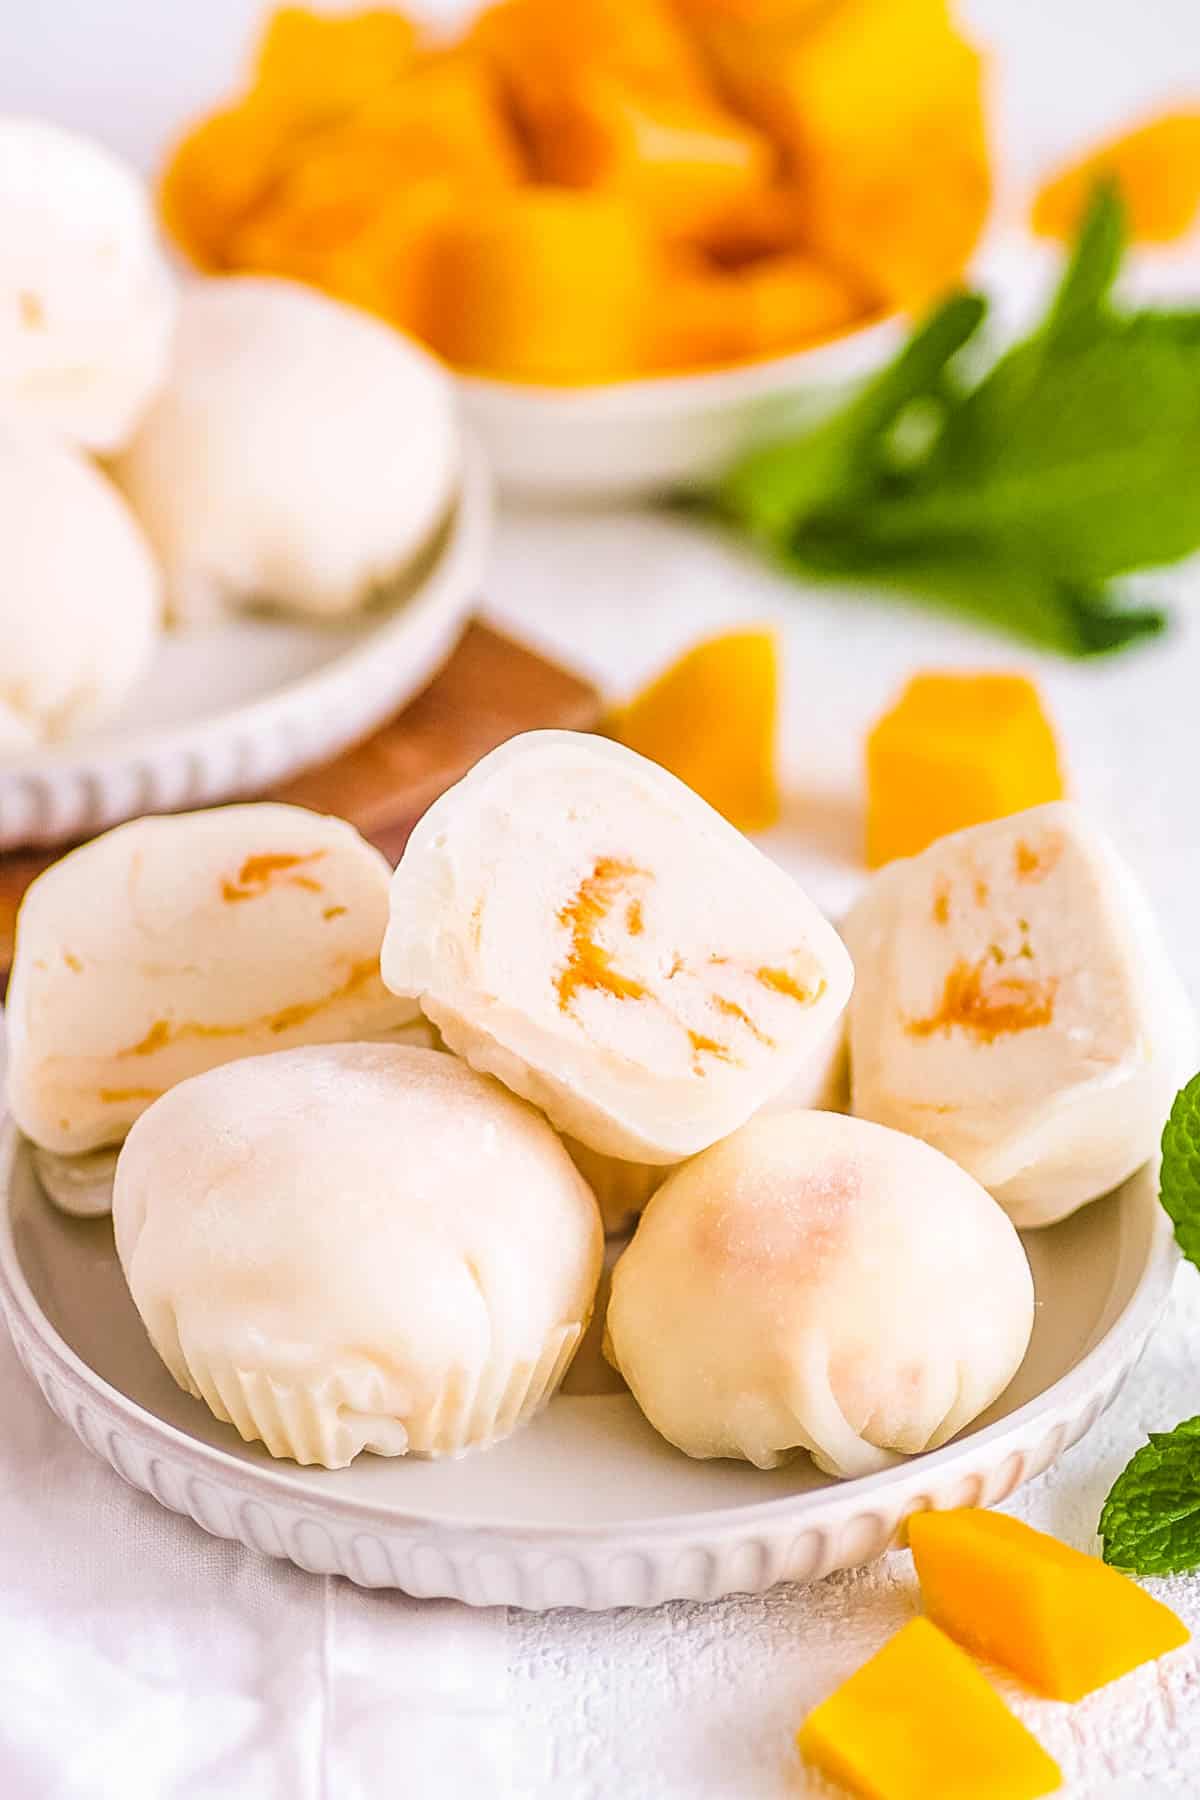
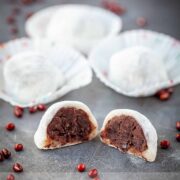
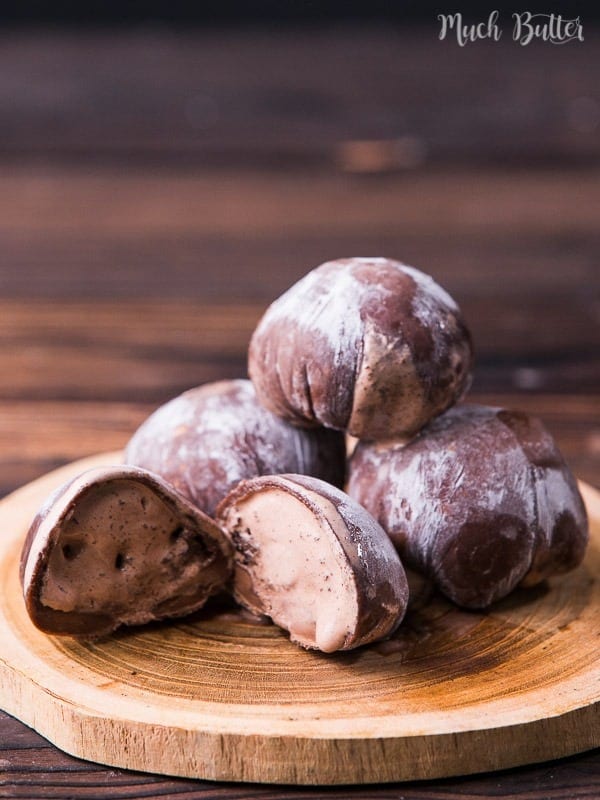
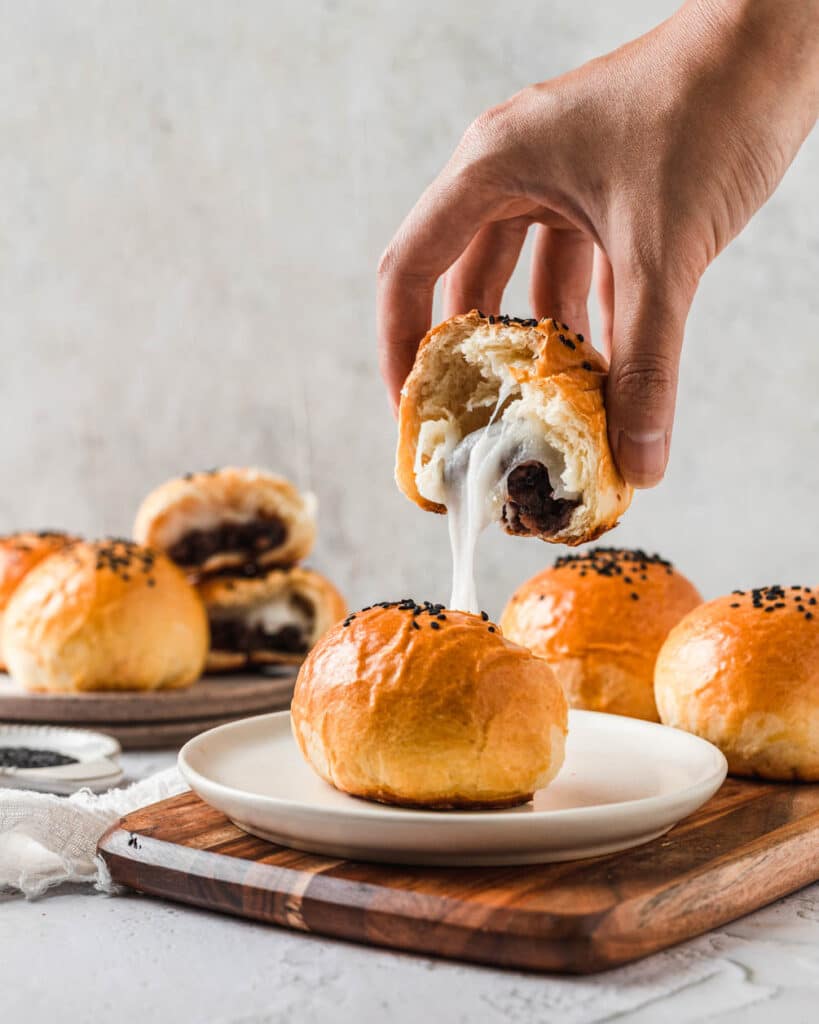
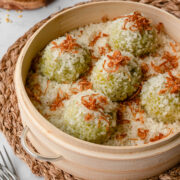
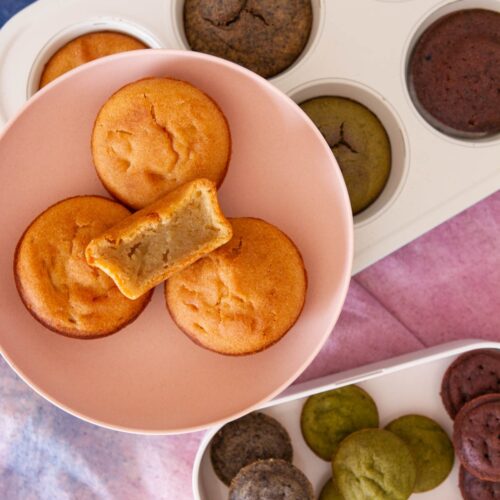
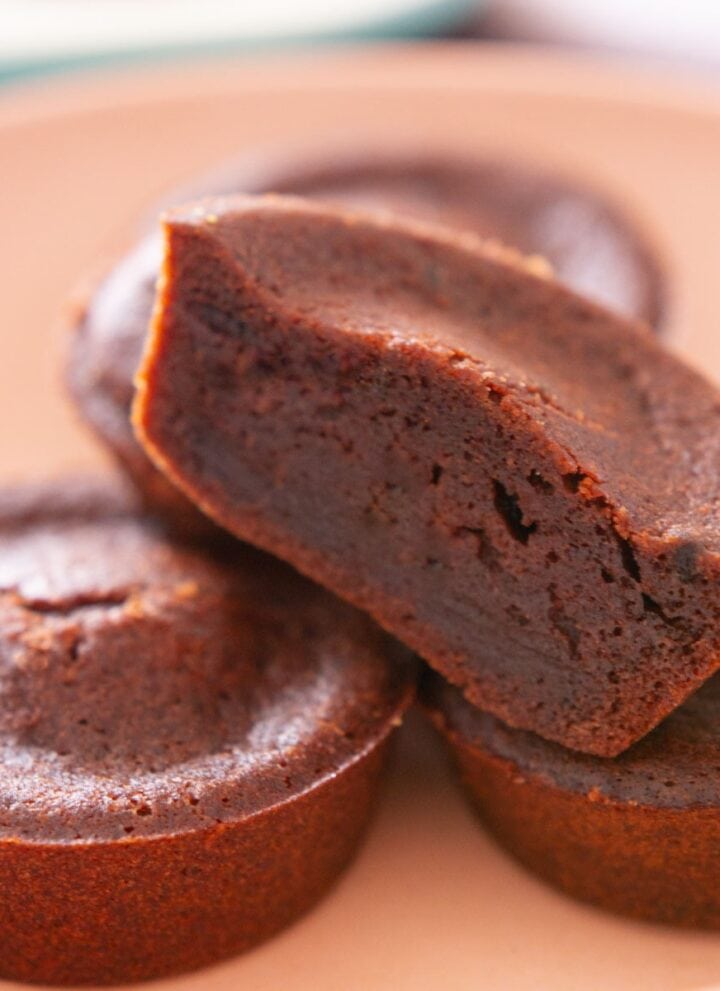
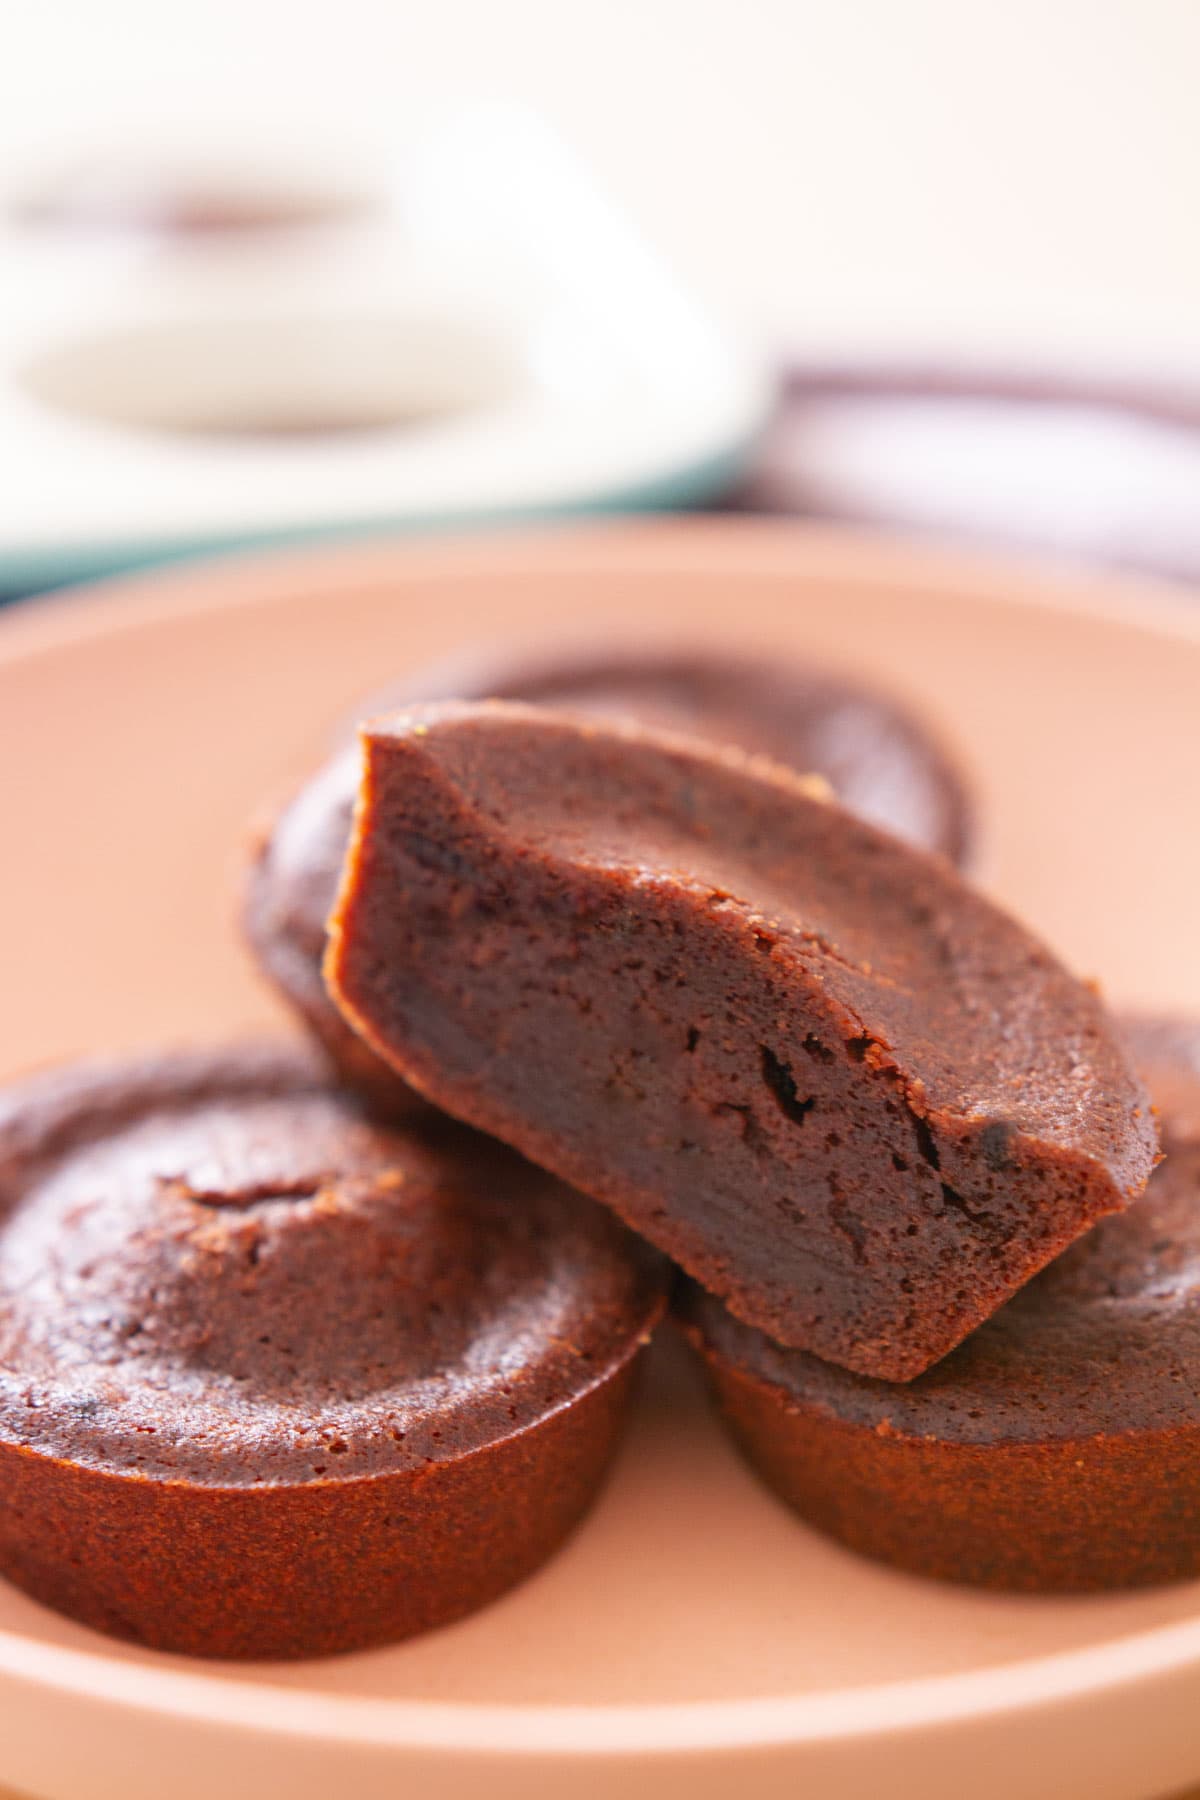
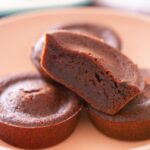
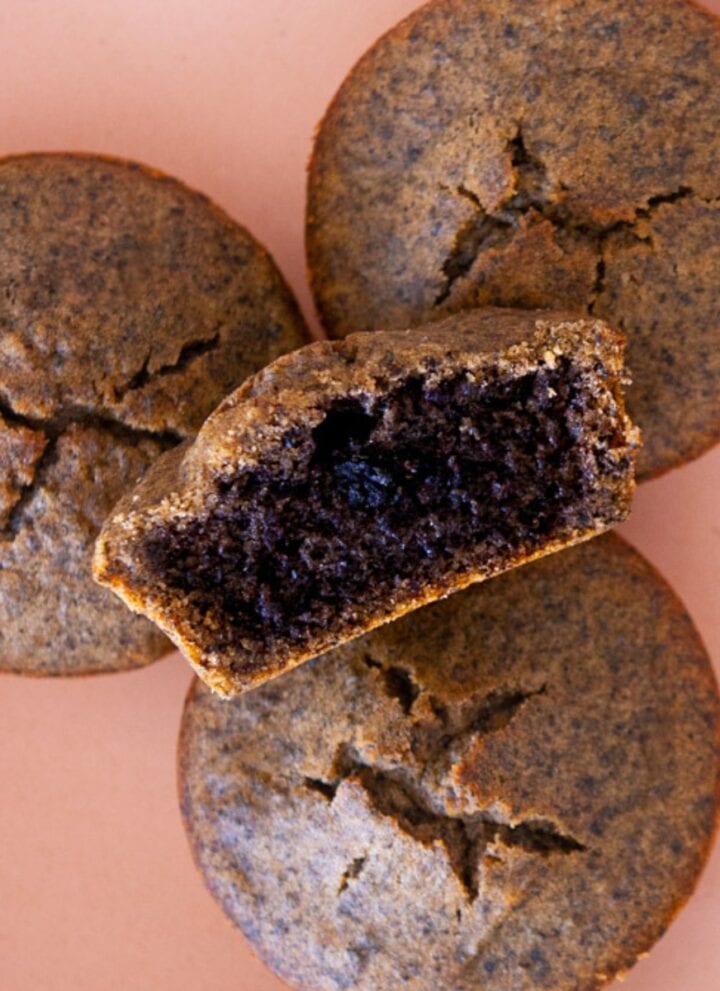
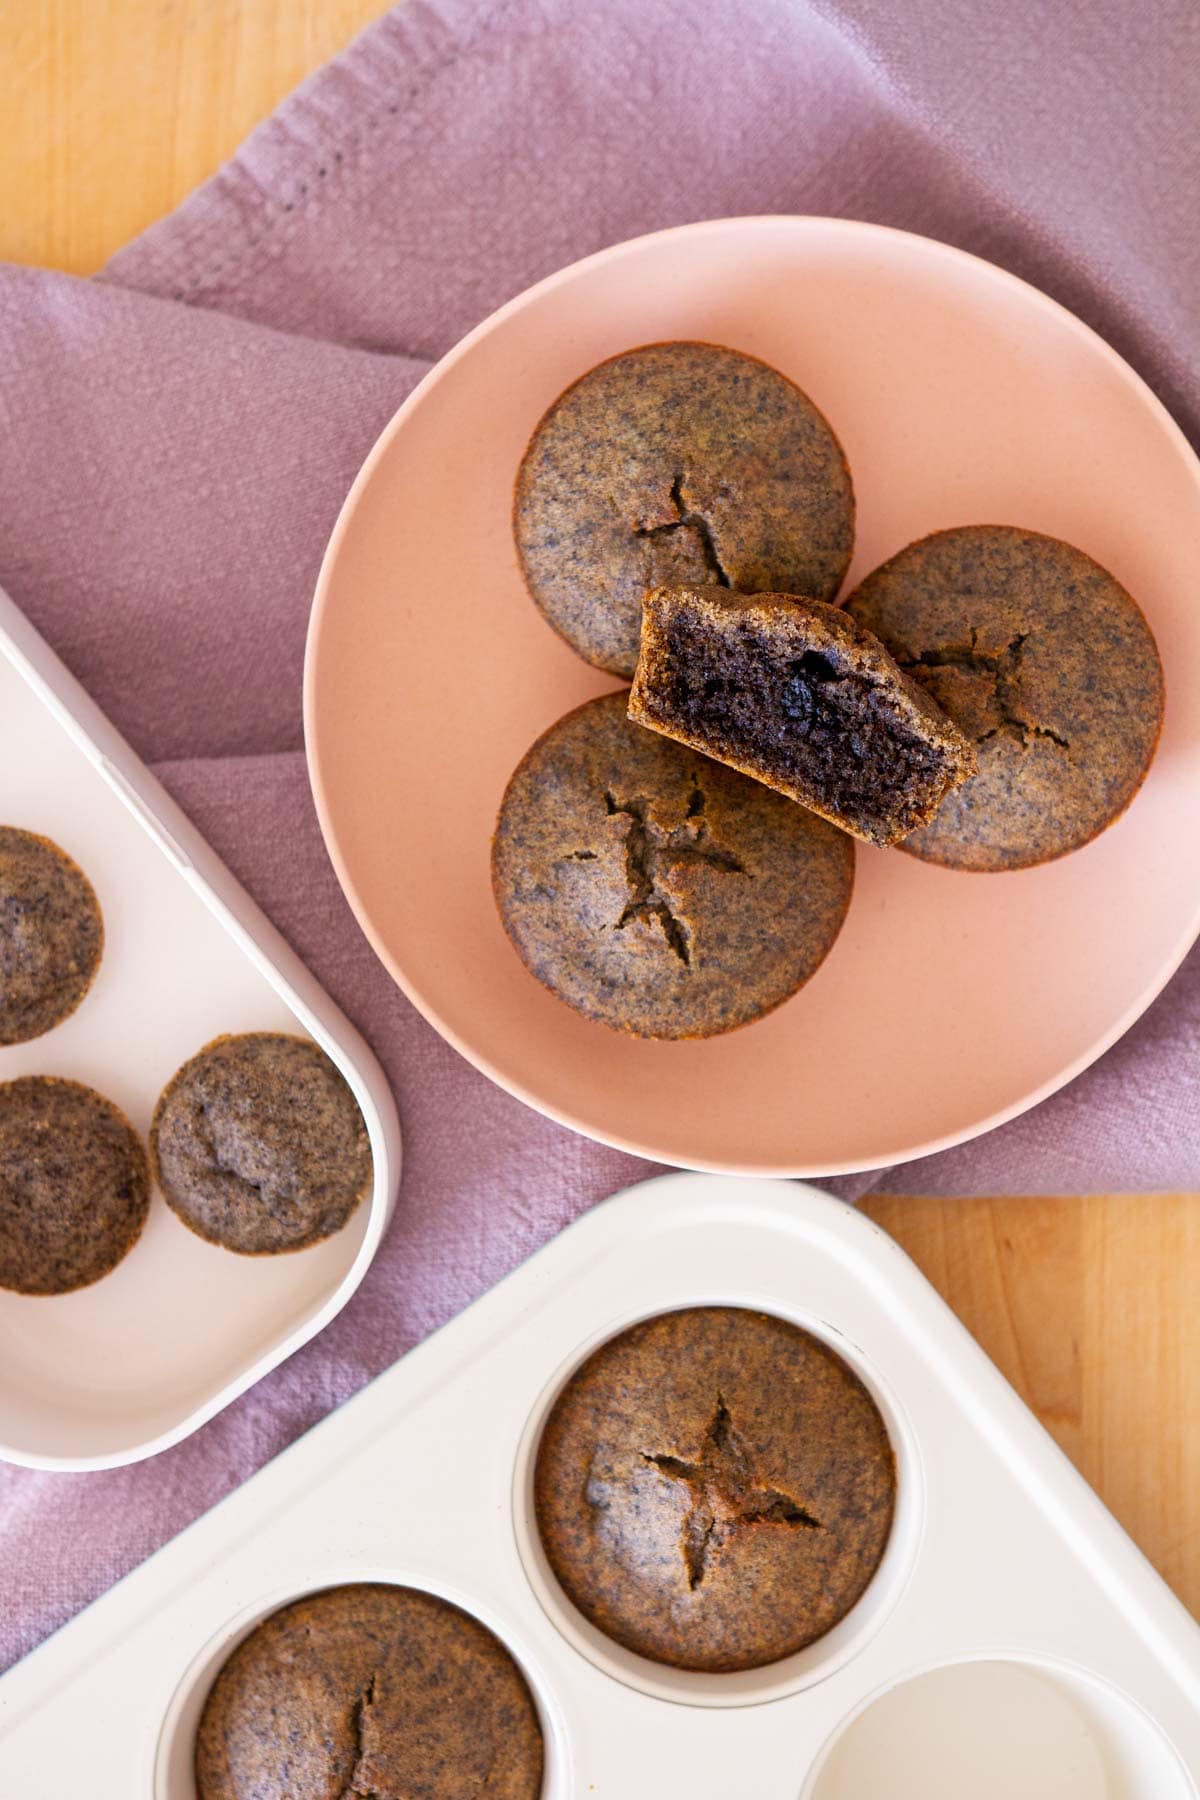
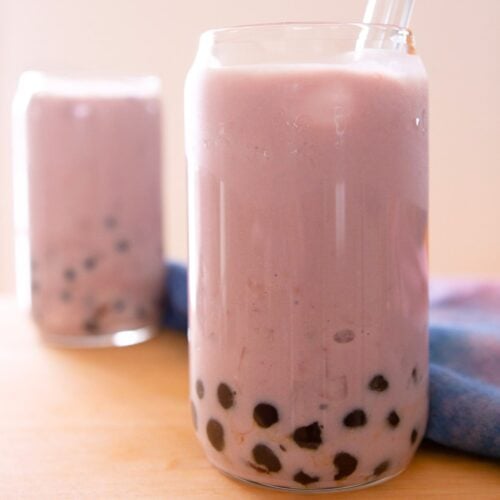
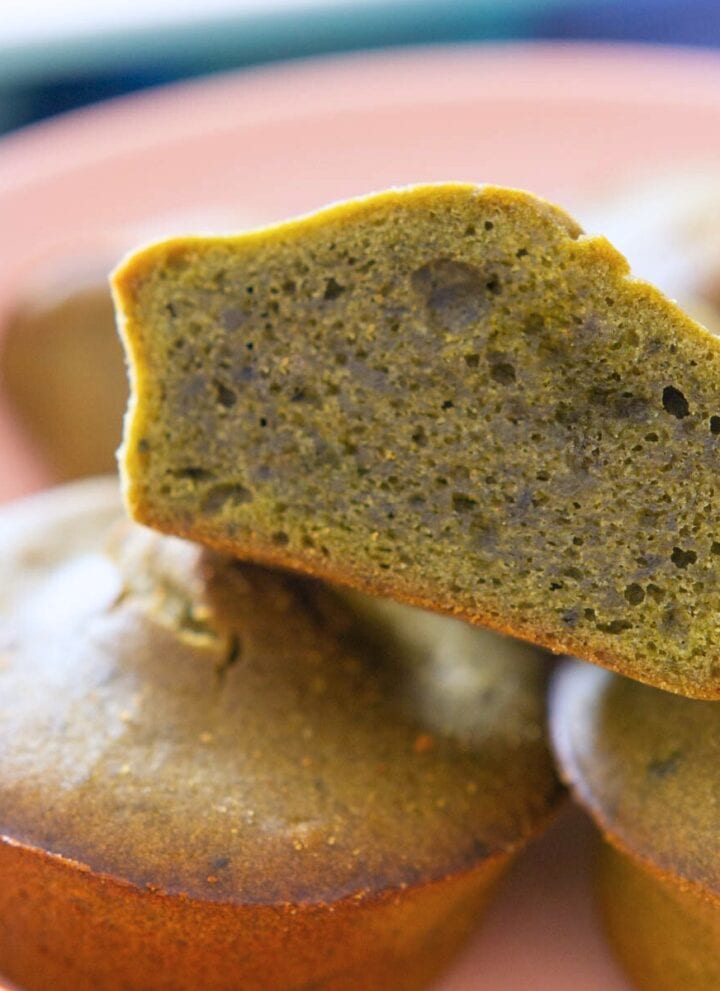
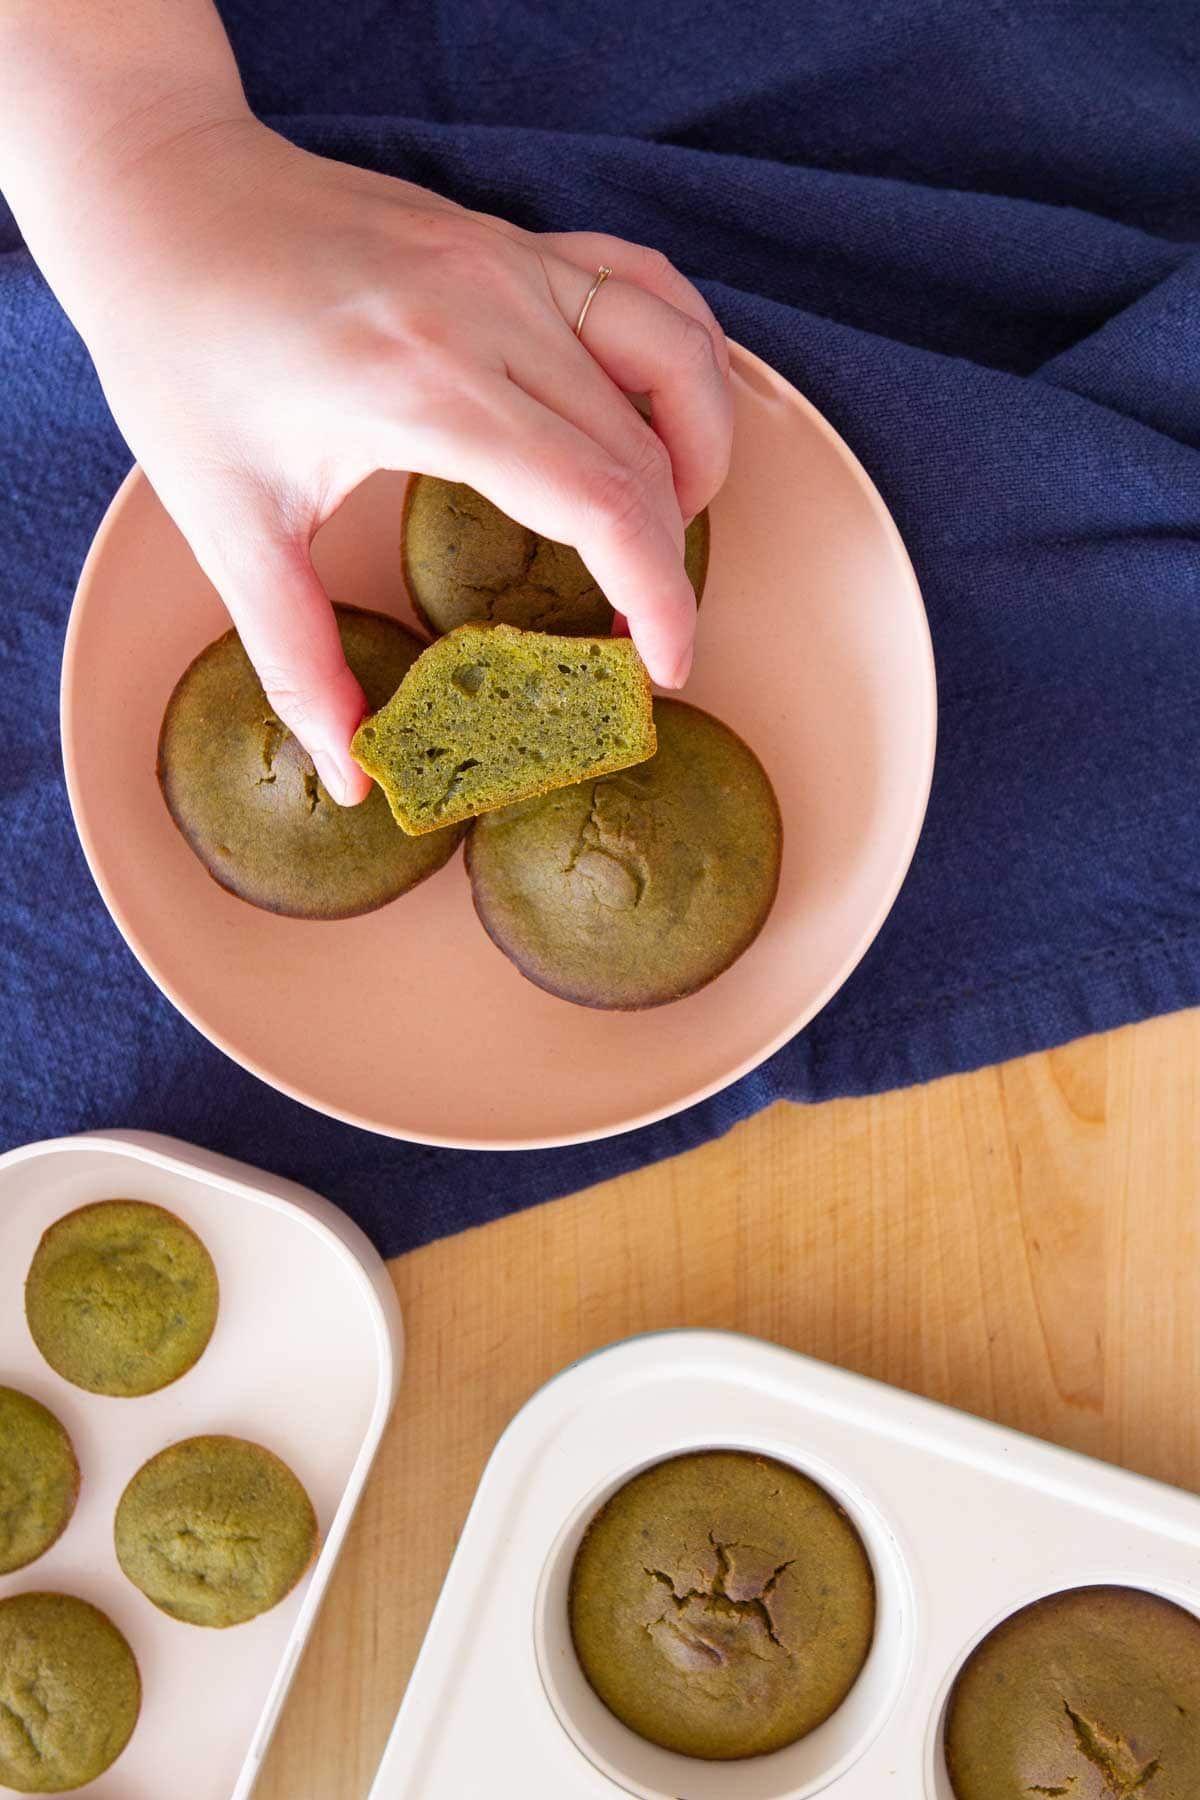
You can serve it alongside boba (this version uses fresh taro), or as a light snack with mini mochi muffins.
💭 what is aiyu jelly made of?
Aiyu jelly is a completely natural jelly-like dessert that’s made from the seeds of the creeping fig plant (awkeotsang) - commonly found in Taiwan and other East Asian countries. When the seeds meet friction in cold hard (high in mineral content) water they start to release pectin, which is the special element that creates the jelly texture.
interesting fact: It’s believed that one day in the 1800s a Taiwanese merchant discovered aiyu when cooling himself off on the banks of a creek. He thought he saw ice floating down the creek, but found out there were fig vines growing waterside and when they combined with the lapping cold water, they created jelly!
It's also known as “ice jelly” in different Asian countries.
🍧 how to enjoy aiyu
The most common and traditional way to eat it is how I made it in this recipe: with the honey citrus topping. It also tastes amazing in lighter flavored bubble teas, such as honey green tea, passion fruit green tea, and lemon honey boba.
In more traditional Taiwanese shaved ice, aiyu is a loved topping – I always request it when it's available!
Thankfully, it pairs well with a lot of different cold Taiwanese desserts and drinks, like Taiwanese apple cidra soda. It also makes a great palate cleanser after eating savory dishes like stir-fried water spinach (morning glory), stir-fried spinach, or vegetable mei fun noodles.
📋 key ingredients
There are very few ingredients in this recipe, but cold hard water with high mineral content might be the most important one! Make sure you use hard water or store-bought mineral water - see below for more details.
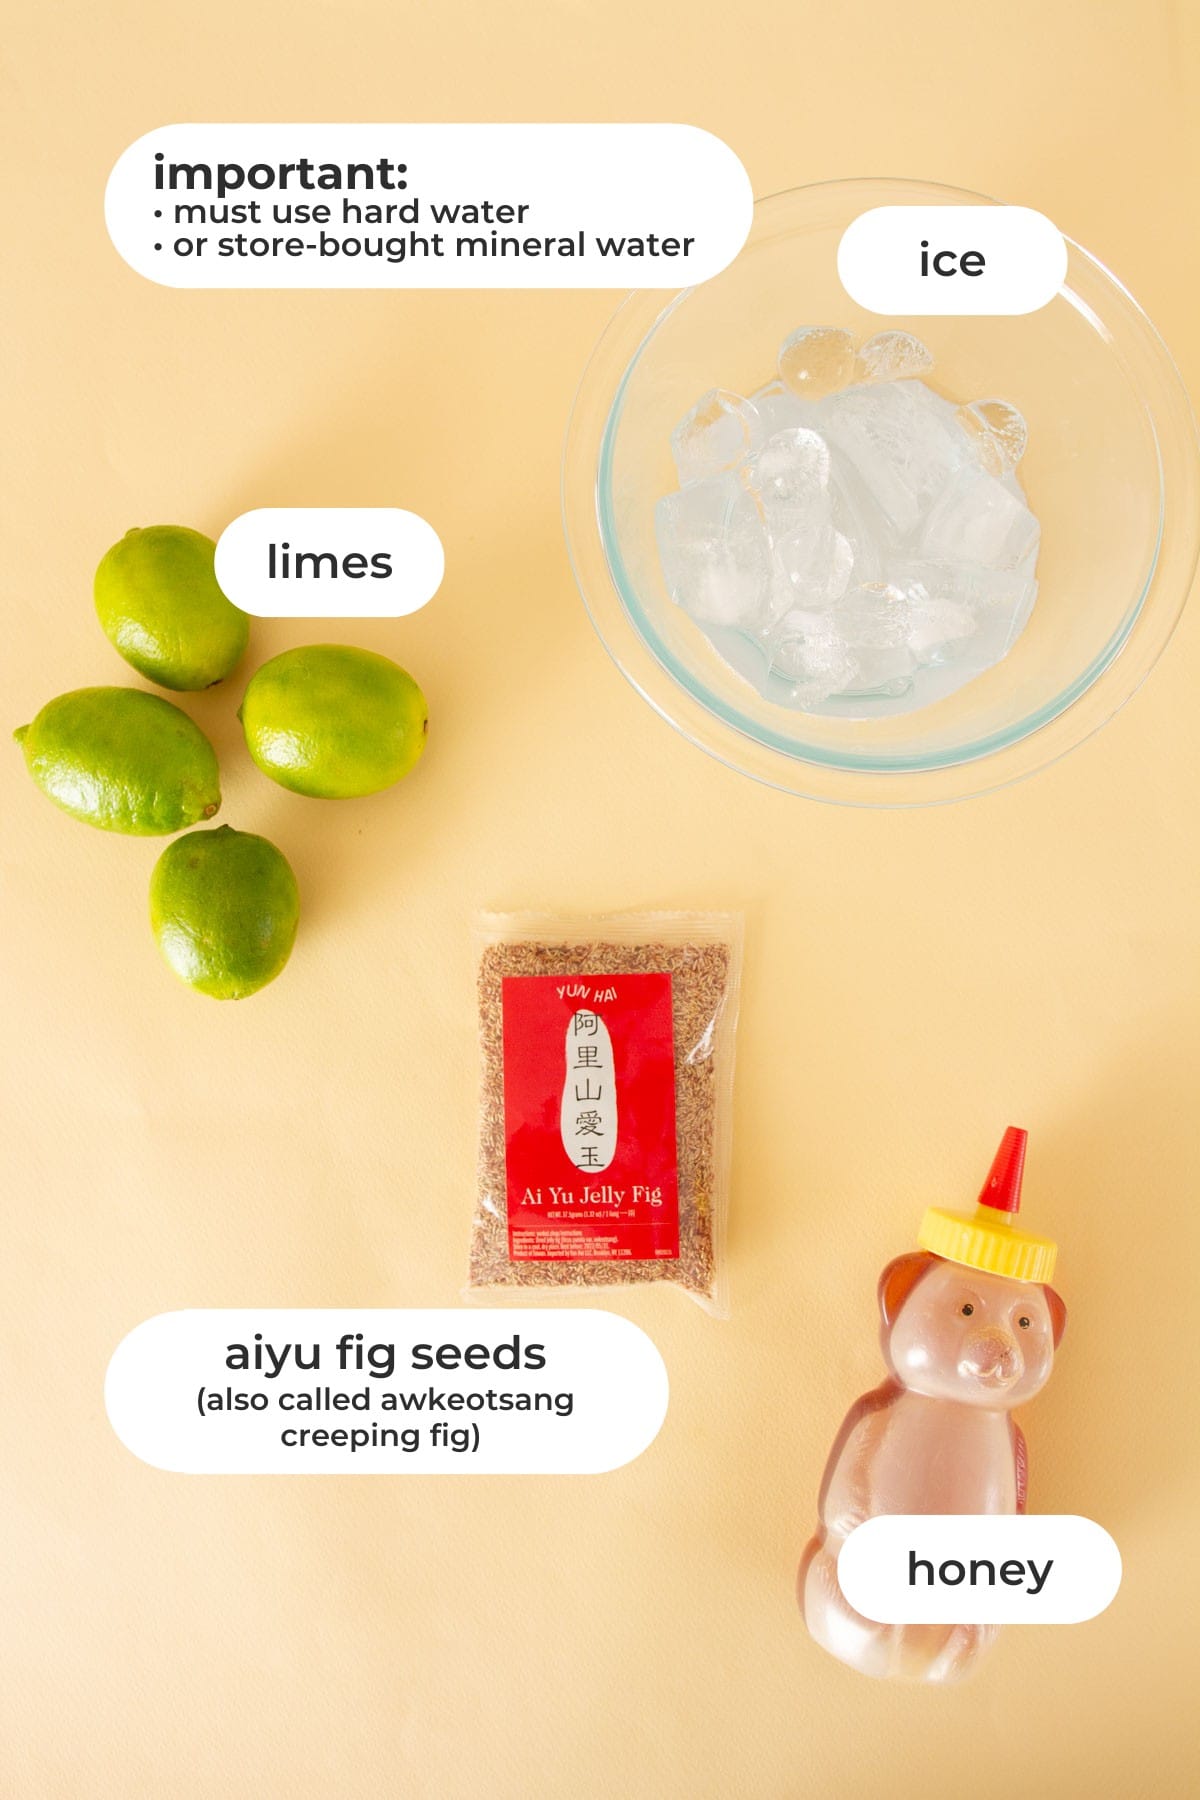
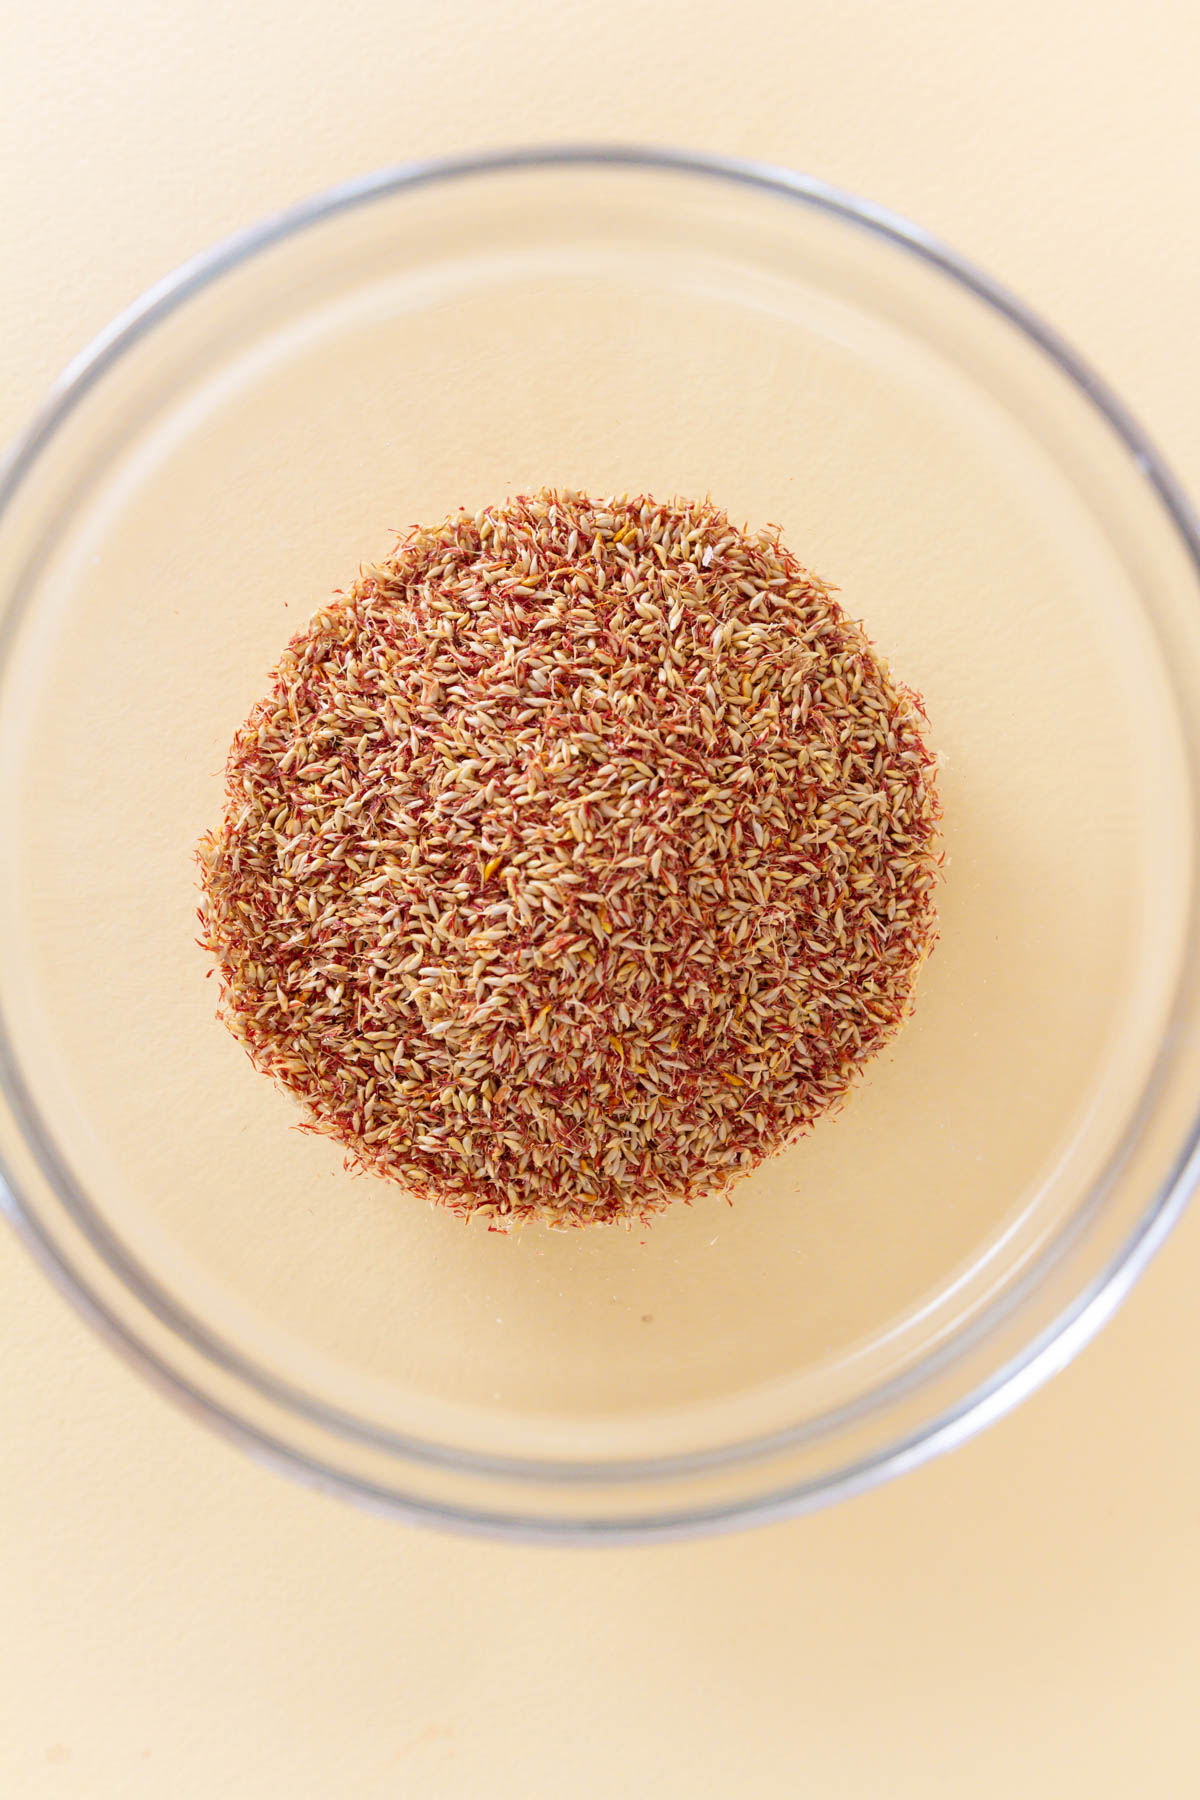
- aiyu fig seeds (dried awkeotsang creeping fig fruit) - I used ½ of a pack from Yun Hai. These seeds may have higher pectin content than other store-bought seeds. When using seeds from a different store, follow the package instructions for the hard water-to-seed ratio. You can find aiyu seeds in well-stocked Taiwanese or Chinese grocery stores like 99 Ranch Market or online (paid link). I’ve seen it online at Weee! at times as well (paid link).
- cold hard water - since aiyu jelly seeds need the minerals in hard water to interact with in order to form pectin (which gives it that delicate jelly consistency), you need to use tap water that has a mineral content of at least 100 ppm. If your water doesn't have at least 100 ppm, you can use store-bought mineral water such as Evian or Fuji water.
note: you can also get canned versions of aiyu, but the texture is slightly different. Canned versions are usually firmer (closer to a stiff jello) than freshly made aiyu.
lemon honey water ingredients
- honey
- warm water
- lemon or lime slices - for topping, optional
- fresh lemon/lime juice - both limes or lemons work based on personal preference. Lemon juice will have a mellower flavor. I like to switch it up from time to time.
- ice - for serving
See the recipe card for quantities.
📖 substitutions
There aren't any good substitutions. The water-to-seed ratio may differ based on the types of seeds you use, but the recipe and instructions will remain largely the same.
Also, although it has a gelatinous texture, it doesn't contain gelatin. That means aiyu is naturally vegan and you can swap out the honey for another vegan-friendly sweetener (like a simple syrup) to use as the topping.
📖 variations
The lemon honey water is the traditional way of serving aiyu over ice (it's especially refreshing in the summer!), but you can make toppings with different flavor profiles if you'd like.
- green tea - make the honey lemon water with green tea instead of water. It'll add another layer to the flavors.
- fruity - add crushed/muddled (or sliced fruit) to the top of your jelly. It'll provide more texture and fruity flavor.
- boba or tapioca pearls - Due to its neutral flavor, it will pair well with most types of bubble teas. I recommend it with passion fruit green tea.
🔪 instructions
I’m going to go through each step in detail below, including step-by-step photos of how to make fresh aiyu. In a hurry? You can jump straight to the printable recipe.
This recipe makes 6 servings (about 1 cup each).
pro tip 1: Before you start, make sure to wash your hands and a large mixing bowl with soap and water to make sure there are no oily residuals. Any leftover oils can sometimes prevent the pectin from the aiyu fig seeds from forming.
To begin, check your tap water hardness (mineral) level. It needs to be at least 100 ppm for aiyu seeds to form pectin. It is important to note that filtered water will not work for this recipe. If your water is less than 100 ppm, you can use store-bought mineral water like Evian or Fuji water.
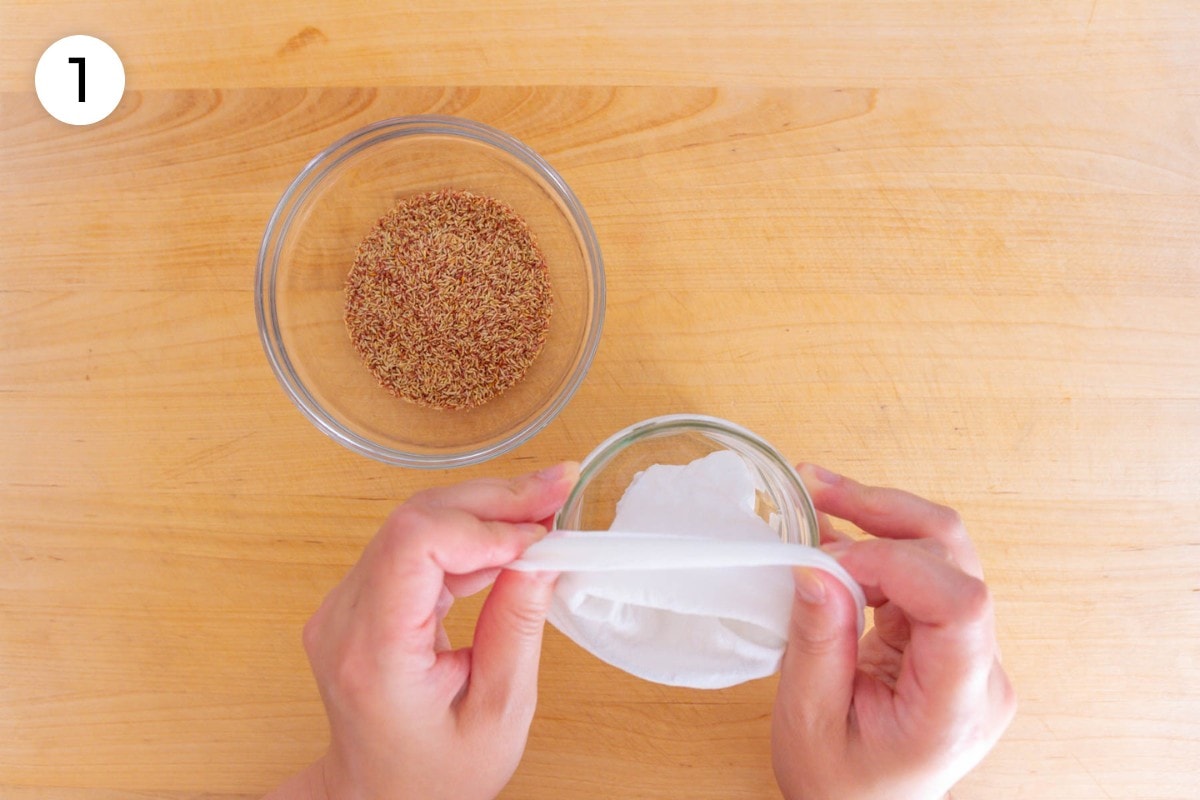
Place a fine mesh pouch (or spice bag) into a clean small cup or mason jar, then wrap the edges of the pouch over the rim of the cup. This will help to hold the pouch open.
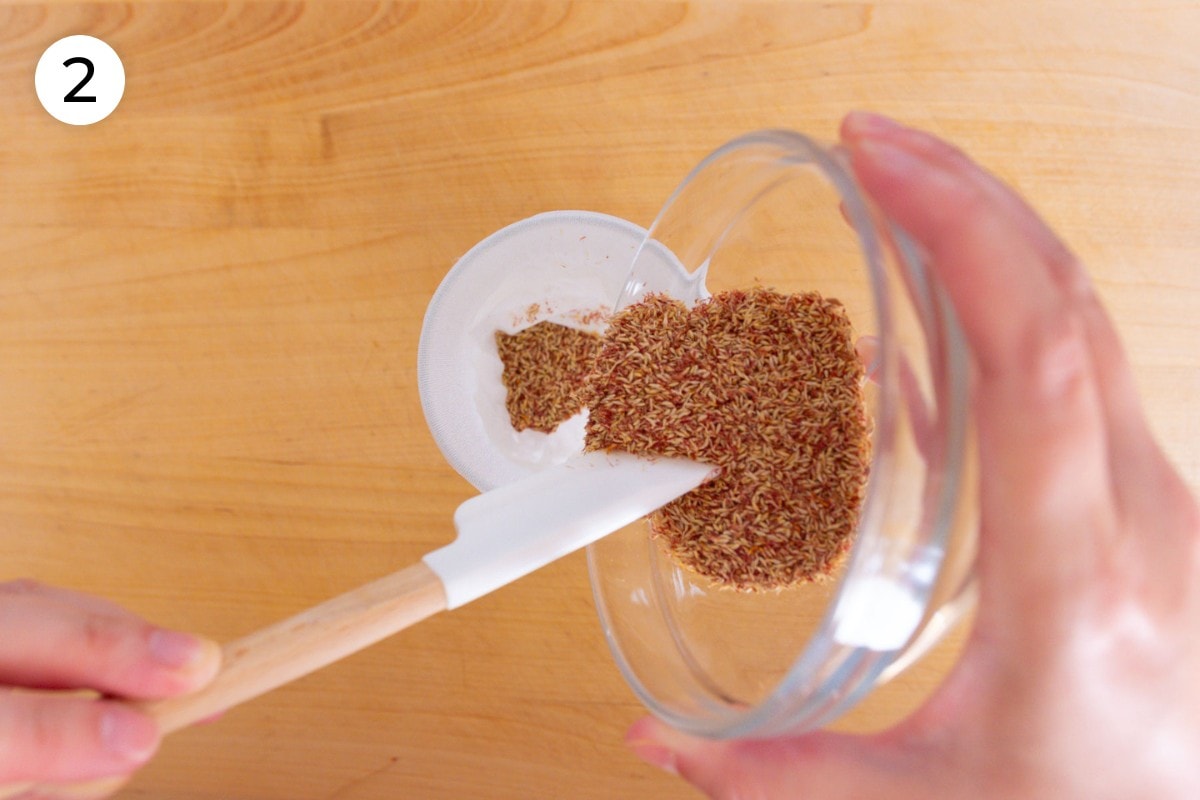
Fill the pouch with 19 grams of aiyu seeds (about 3 tablespoons and 2 teaspoons). Note: the quantity will depend on where the seeds are from. Follow package directions accordingly.
Remove the pouch from the cup and push the aiyu seeds inside to the bottom of the bag.
Tie a knot at the top of the pouch.
pro tip 2: leave 2 inches (50 millimeters) of space between the knot and the seeds so that there's room for the seeds to move around when you rub them in mineral or hard water.
Fill a clean large mixing bowl (make sure there are no oily residues in the bowl – if so, wash with soapy water and dry before using) with cold hard water.

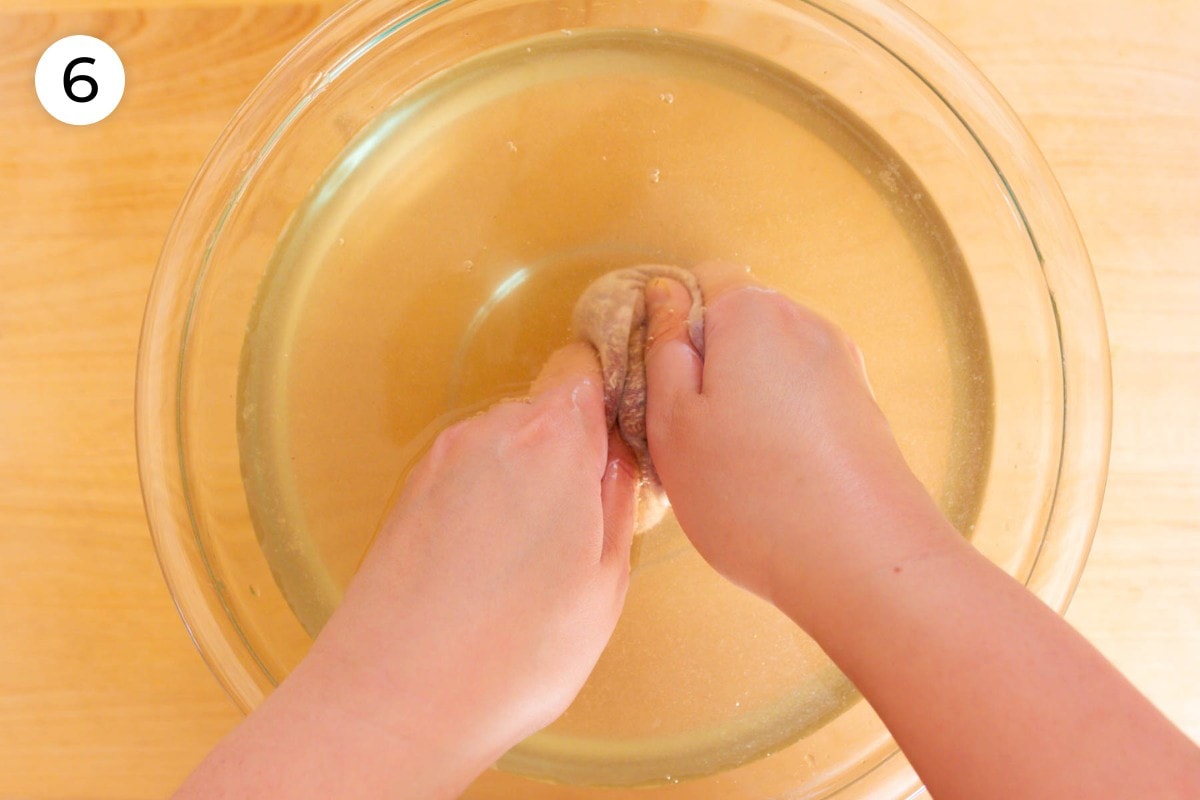
With clean hands, place the pouch into the water so that it’s fully submerged, and gently rub the aiyu seeds inside of the pouch.
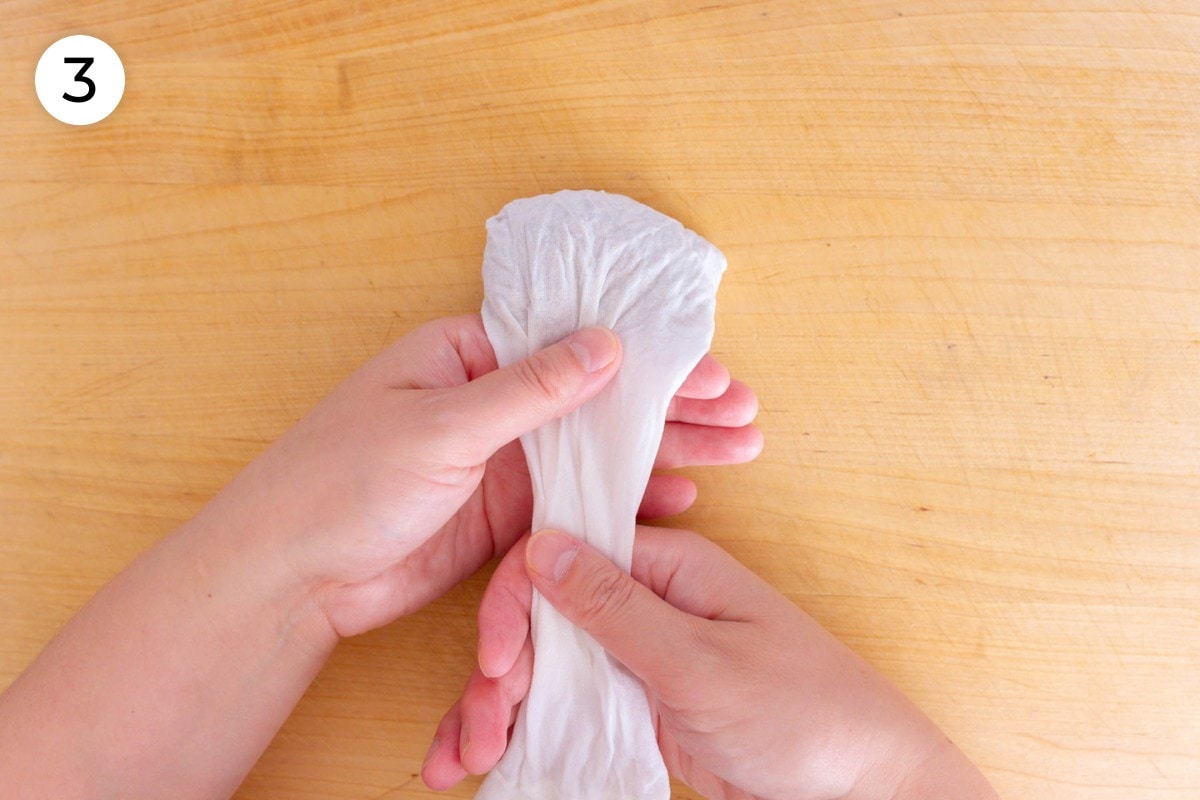
The rubbing motion is similar to as if you were hand washing a towel. Gently squeeze the outside of the pouch every so often to release the pectin into the water.
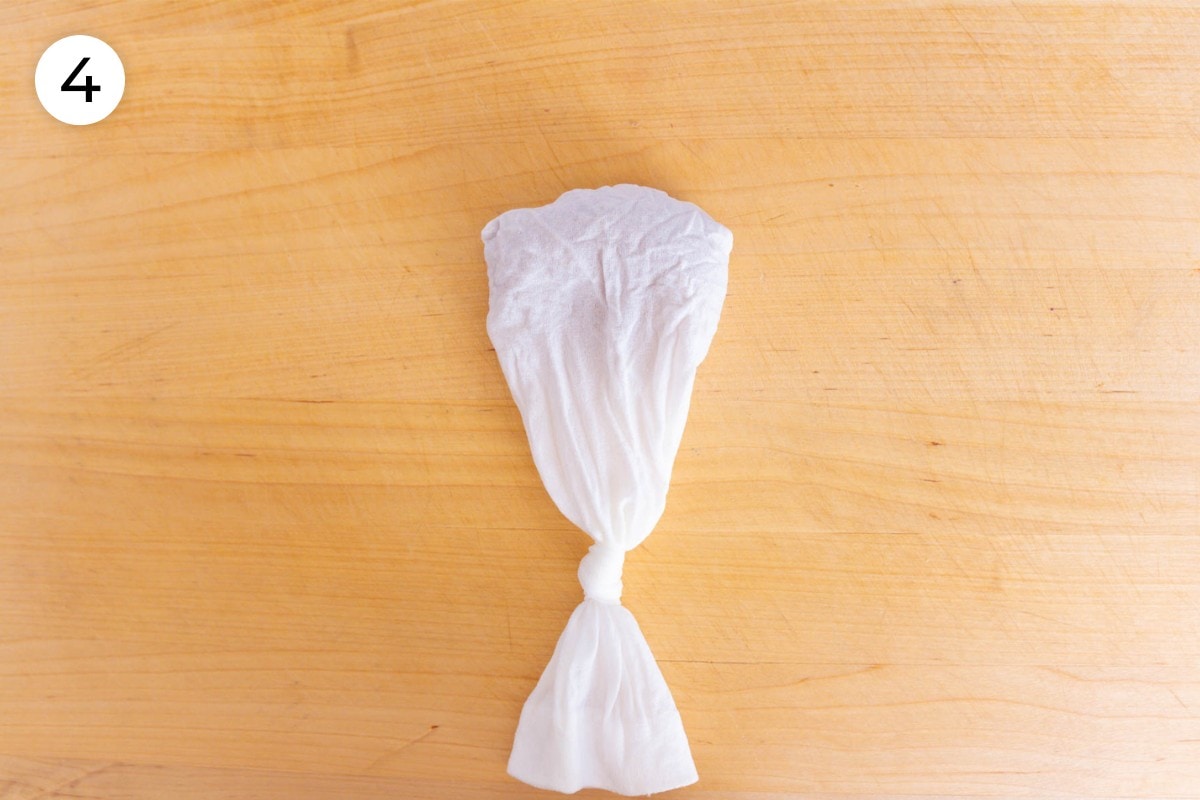
Continue the rubbing motion for about 5 minutes.
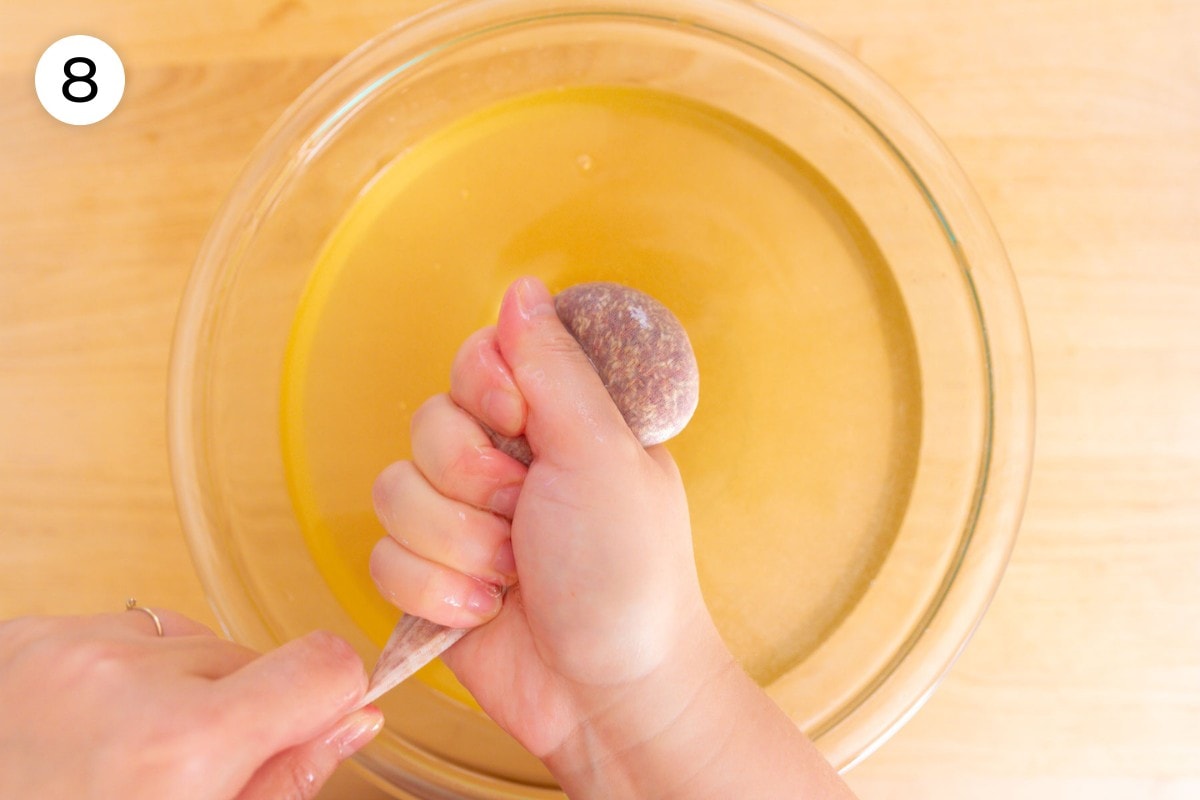
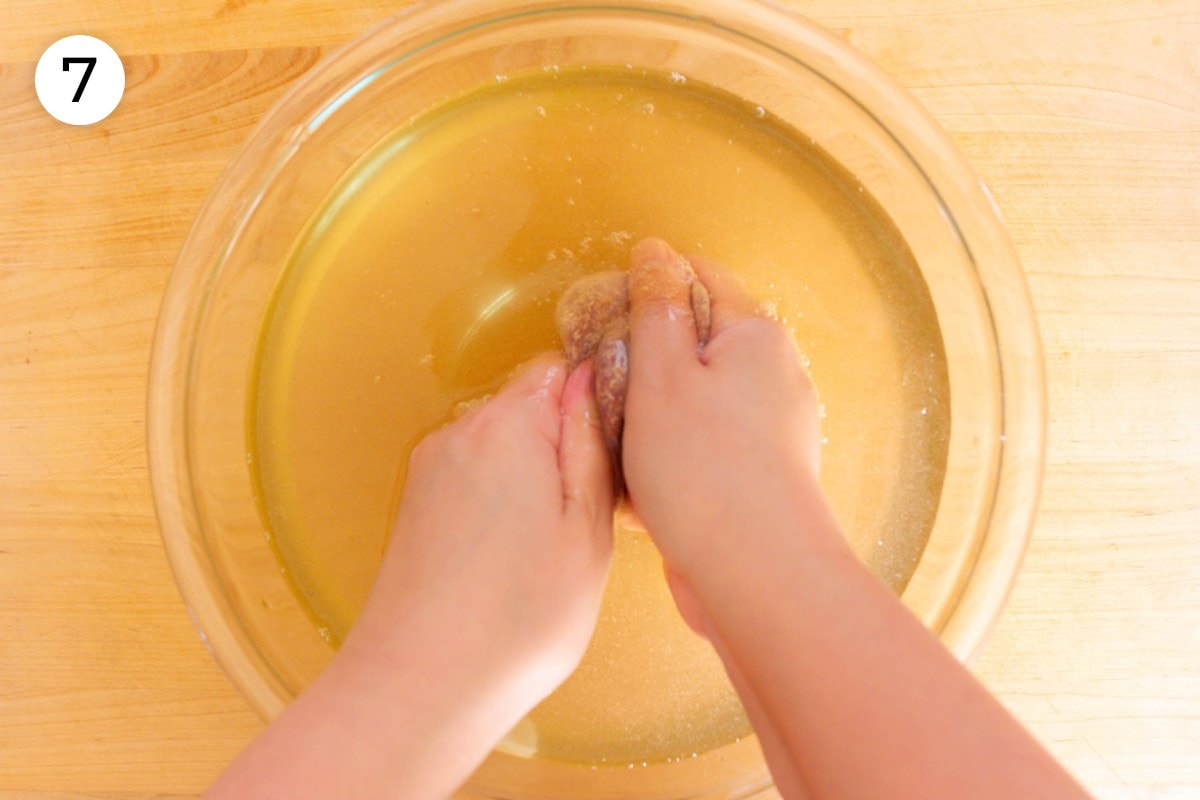
You’ll notice the water will begin to turn a light golden color and become more slippery and viscous.
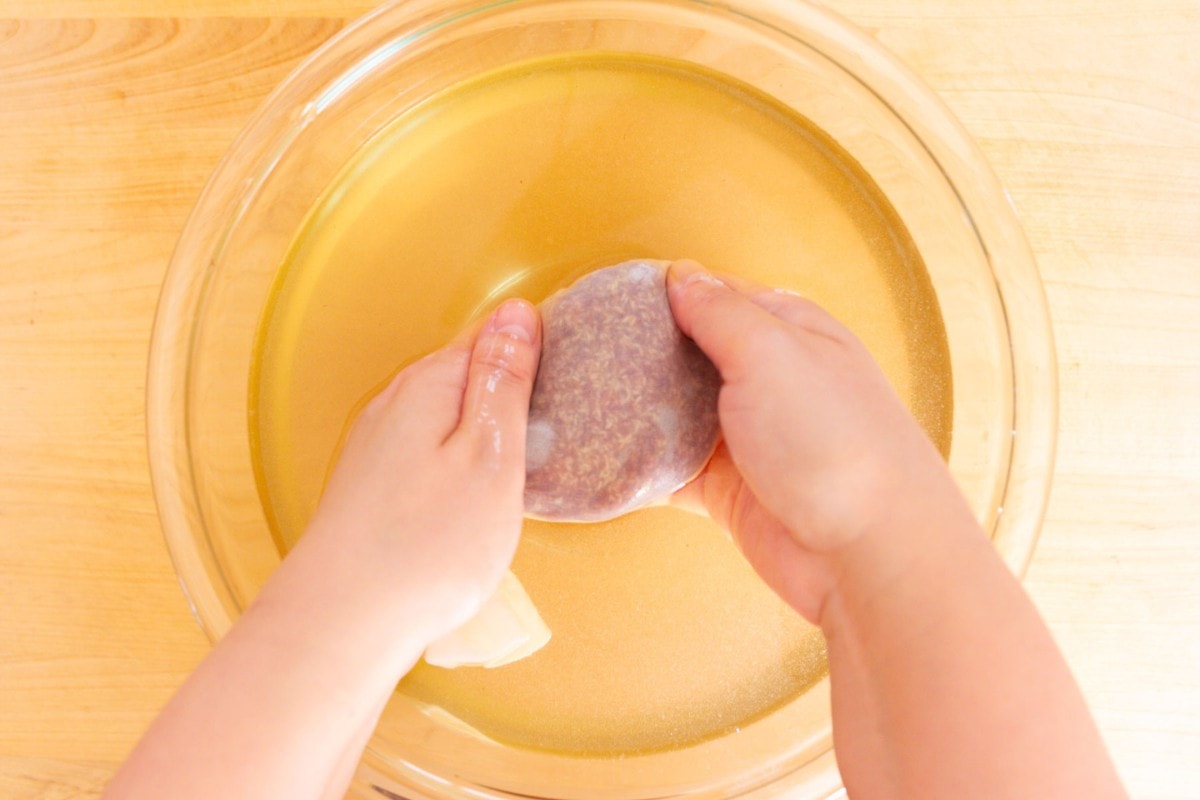
At this point, the outside of the pouch will feel slippery.
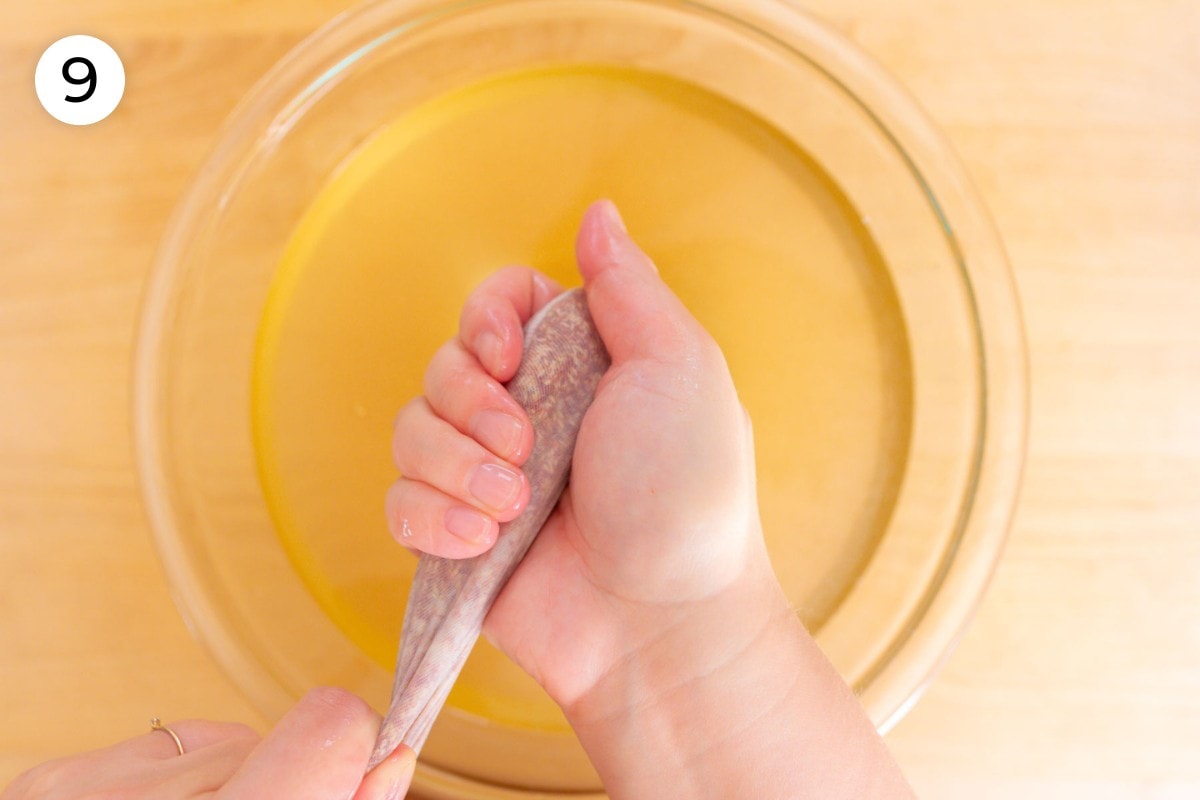
Remove the pouch from the water and give it one last squeeze to release the remaining pectin and liquid into the bowl.
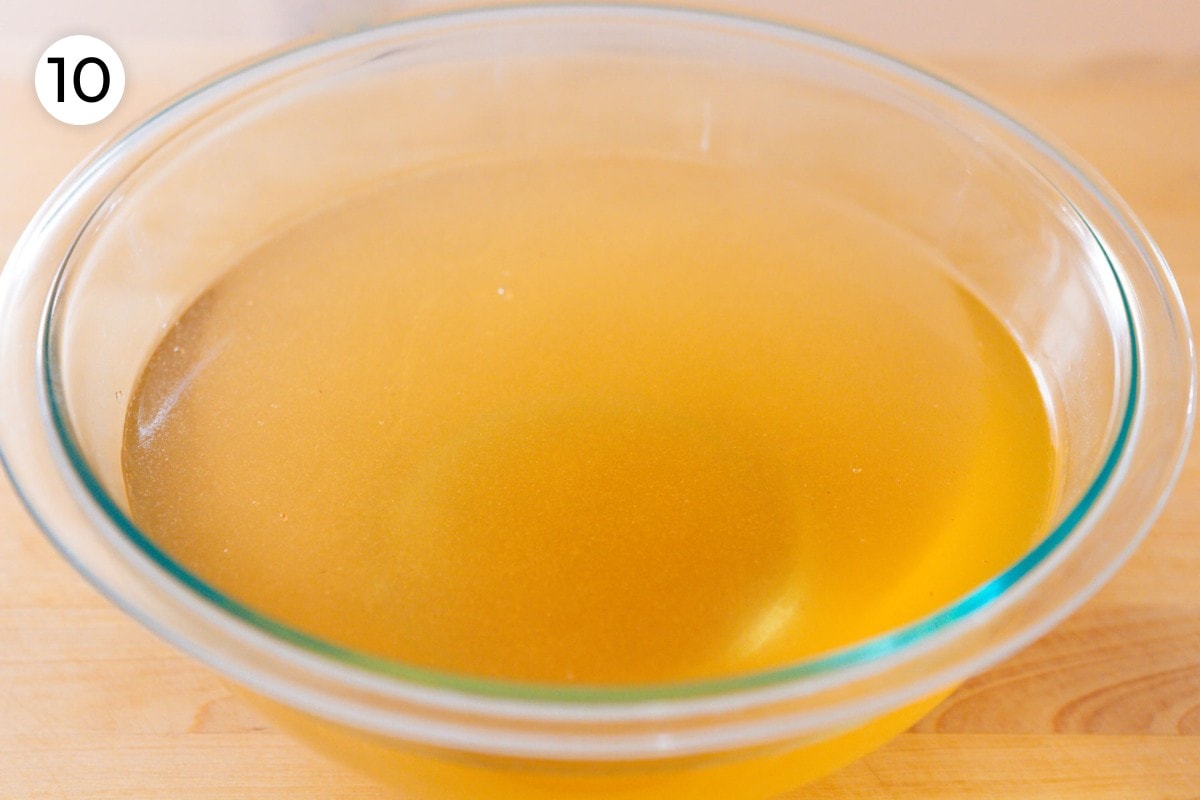
Set the bowl aside and allow the aiyu to set (20 minutes to up to 2 hours depending on the water you use). To quicken the process, place the bowl in the refrigerator.
pro tip 3: The amount of time it takes for your aiyu jelly to set will depend on a few factors: the water hardness, the aiyu seeds used, and your room climate/temperature.
Using water with a hardness of 160ppm in moderate California temperatures, it takes just 25 minutes to set at room temperature.
If you find that yours is taking longer, you can place the bowl in the refrigerator to quicken the process.
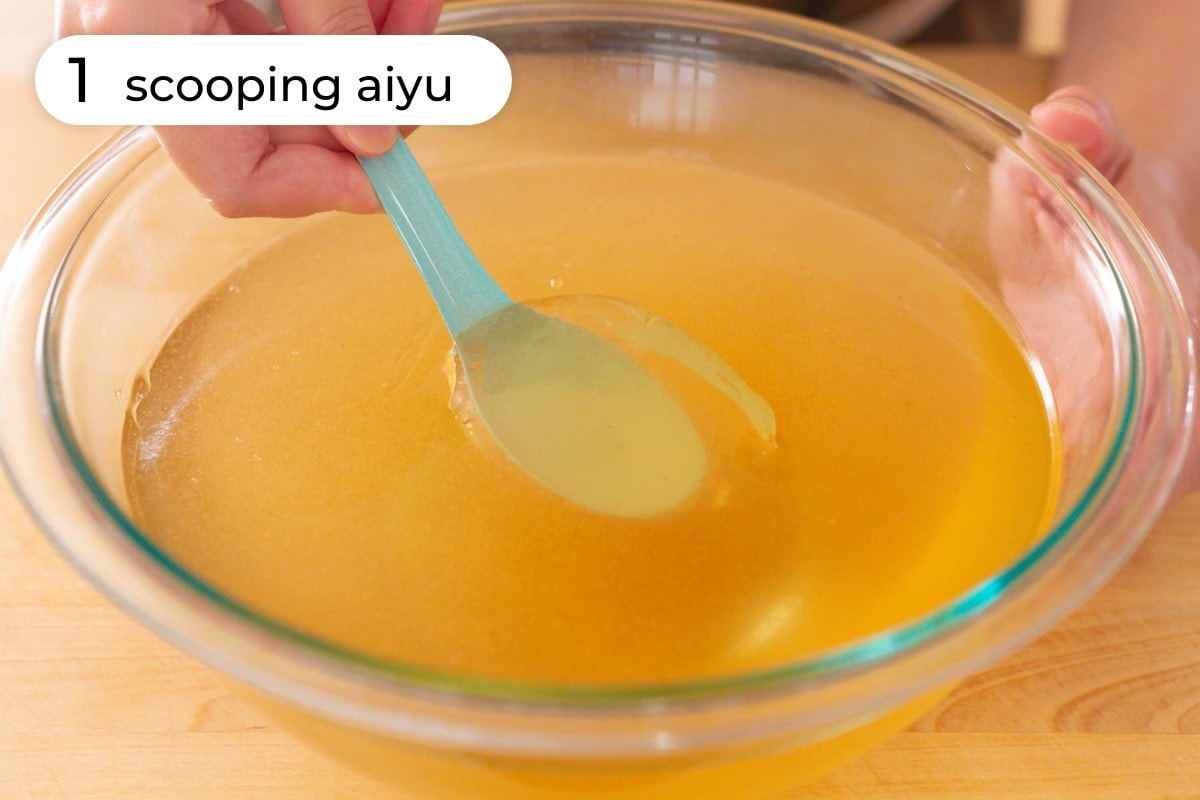
Once the jelly is set it should jiggle when you move the bowl and look like a gelatin, but softer.
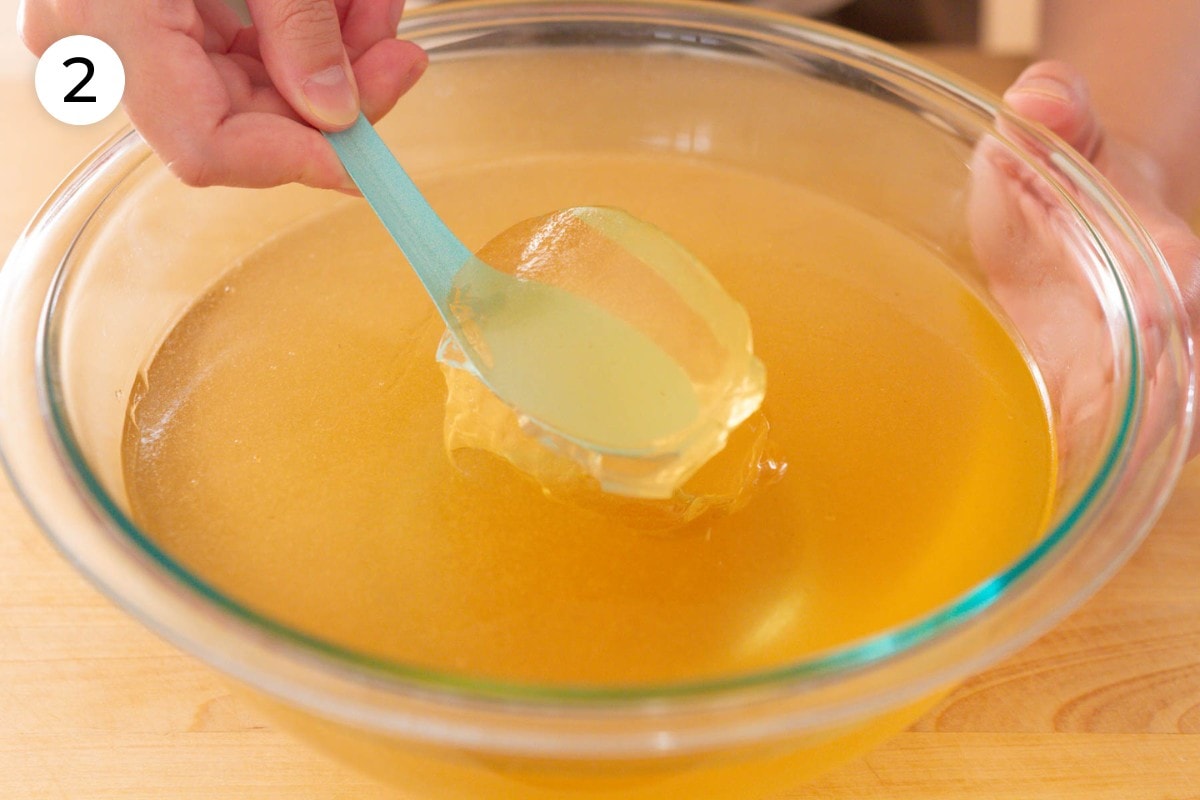
Cut it or scoop with a spoon into serving bowls.
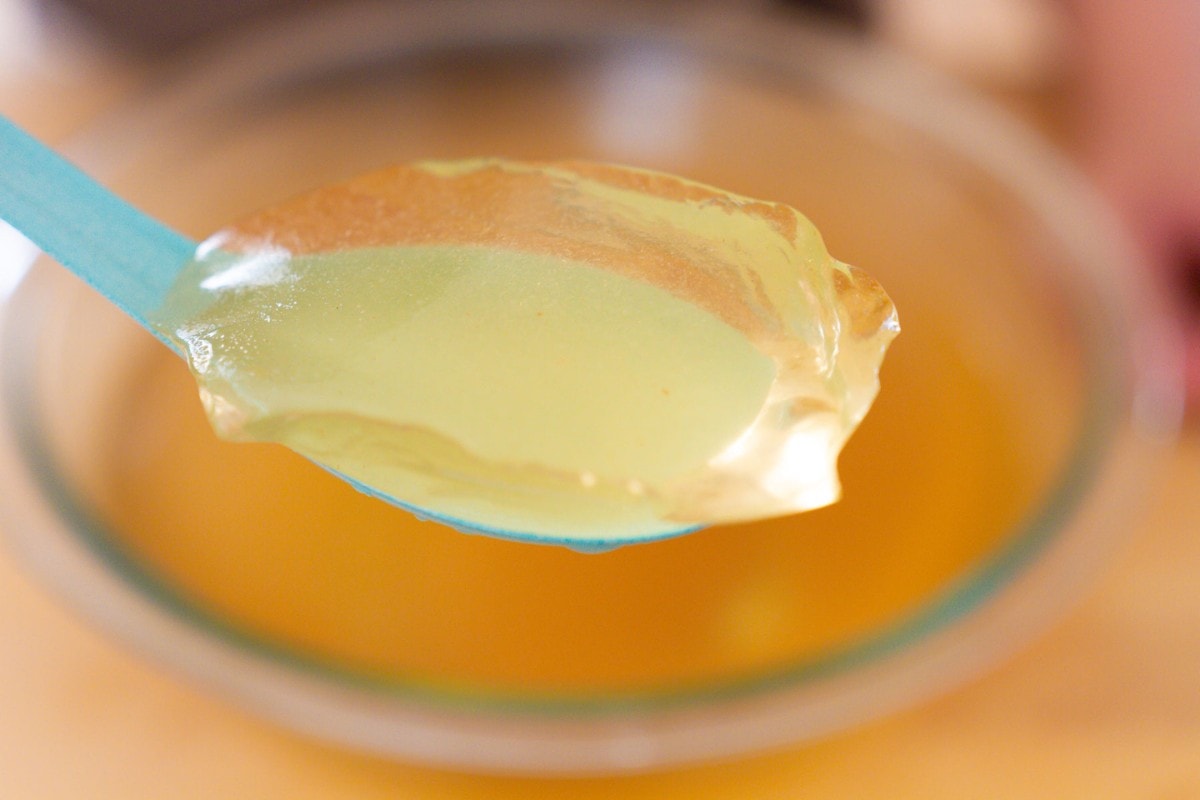
Look at that soft jelly texture and translucent golden color of fresh aiyu!
🍯 lemon honey topping
To serve it the traditional way, top it with a lemon and honey syrup. The amount of sweetness in this recipe is similar to "30% sweet" when ordering drinks/desserts at Taiwanese tea shops in the US.
In a small bowl, mix 3 tablespoons of honey and 3 tablespoons of warm water together until the honey dissolves, and then add freshly squeezed lemon juice to taste (about ¼ cup).
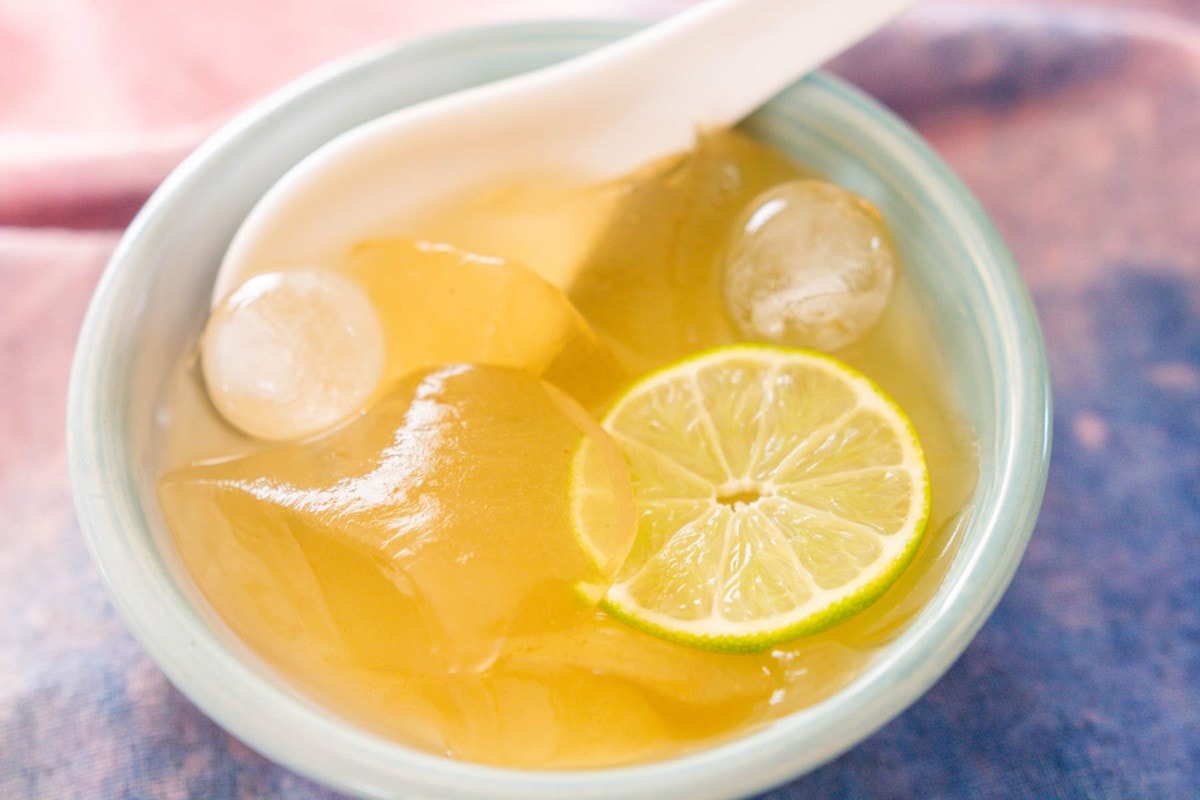
Spoon the honey lemon water over each bowl of aiyu with a slice of lemon or lime (optional), and ice. Serve immediately and enjoy!
🧋 more serving suggestions
Try one of the options below and let me know what you think in the comments section below.
- in bubble tea (boba)
- over Taiwanese shaved ice
- with winter melon tea
- in passion fruit green tea
- with Taiwanese apple cidra soda (paid link) or a mix of apple cider and sparkling water
🍲 equipment
Note: Some of the links below are affiliate links, which means we do make a small profit from your purchases (your price is not affected by this commission). We are a participant in the Amazon Services LLC Associates Program, an affiliate advertising program designed to provide a means for us to earn fees by linking to Amazon.com and affiliated sites. If you click on an affiliate link, you consent to a cookie being placed on your browser for purposes of tracking commissions.
Equipment can have a big impact on how a recipe turns out, and in the case of this recipe, these items are helpful to have.
- a fine mesh pouch (paid link) or cheesecloth with kitchen twine
- large mixing bowl (paid link)
- small cup or food container
Make sure the mixing bowl and container is thoroughly washed with soap and water so there are no oily residues left over to mess with the pectin.
❄️ storage
The formed jelly will only last 1-2 days, so it’s best to eat it fresh. A bowl of freshly form jelly starts to slowly turn back to its liquid form even after a few hours, but don’t worry if that happens – you’ll still have plenty to enjoy.
💭 top expert tip
When rubbing the aiyu seeds-filled pouch in the water, use a gentle washing motion. Avoid over-agitating the seeds since you want to keep the insides of the seeds intact. When broken, the middle of the seeds release a compound that may prevent the jelly from forming.
💭 faq
No, aiyu jelly and grass jelly aren’t the same thing. Aiyu is made from fig seeds, while grass jelly is made from the Chinese mesona plant. They also have different flavor palettes - the grass jelly has a herbal flavor.
It may be a few factors. 1. Check your water mineral level (you can check your tap water hardness (mineral) level here). It needs to be at least 100 ppm for aiyu seeds to form pectin. If it's lower, you can use store-bought mineral water like Evian or Fuji water. 2. There may have been some oil residue left in your mixing bowl, on your hands, or somewhere else the seeds came in contact with. Try to start with clean bowls and hands. 3. It may be too hot. Try placing your bowl of aiyu in the refrigerator to help it set into its jelly texture.
🥢 more Taiwanese favorites
Looking for other nostalgic Taiwanese recipes like this? Try these:
👨🍳 COOKING WITH KIDS
What can kid chefs help with?
- spooning the seeds into the mesh pouch
- rubbing the aiyu seeds in the water (with hands washed well with soap and water)
- squeezing the remaining water from the pouch
- mixing together the lemon honey water
Let me know if you have any questions in the comments below.
Happy cooking! ~ Cin 周昀
Want to get recipe updates, pro cooking tips, and nutrition info on East Asian ingredients straight to your inbox? Sign up here for a free PDF with cozy soup recipes.
Please give this recipe a star rating ⭐️⭐️⭐️⭐️⭐️ if you make it. I would love to hear from you! If you have any questions at all, let me know in the comments below.
aiyu jelly 愛玉
ingredients
- 19 grams aiyu seeds, dried awkeotsang creeping fig fruit, ½ pack from Yun Hai (about 3 tablespoons and 2 teaspoons)
- 6 cups cold hard water, or see note for tap water, 1.5 liters
- 3 tablespoons honey
- 3 tablespoons warm water
- 3 thin slices of lemon or lime, optional
- ¼ cup fresh lemon juice, can substitute with lime juice
- 2 cups ice, for serving, divided
*The Instacart button above is an affiliate link, which means we do make a small profit from your purchases (your price is not affected by this commission).
instructions
- Before starting, check your tap water hardness (mineral) level. It needs to be at least 100ppm for aiyu seeds to form pectin. *Filtered water will not work for aiyu.* If your water is less than 100ppm, you can use store-bought mineral water like Evian or Fuji water.
- Place the fine mesh pouch into a clean small cup or mason jar, then wrap the edges of the pouch over the rim of the cup. This will help to hold the pouch open. Fill the pouch with 19 grams aiyu seeds (see note). Remove the pouch from the cup, push the aiyu seeds inside to the bottom of the bag and tie a knot at the top of the pouch, leaving 2 inches (50 millimeters) of space between the knot and the seeds.
- Fill a clean large mixing bowl (make sure there are no oily residues in the bowl – if so, wash with soapy water and dry before using) with 6 cups cold hard water.
- With clean hands, place the pouch into the water so that it’s fully submerged, and gently rub the aiyu seeds inside of the pouch. The rubbing motion is similar to as if you were hand washing a towel. Gently squeeze the outside of the pouch every so often to release the pectin into the water. Continue the rubbing motion for about 5 minutes. You’ll notice the water will begin to turn a light golden color and become more slippery and viscous.
- Remove the pouch from the water and give it one last squeeze to release the remaining pectin and liquid into the bowl. Set the bowl aside and allow the aiyu to set (20 minutes to up to 2 hours depending on the water you use). To quicken the process, place the bowl in the refrigerator. See notes below.
- In a separate container or bowl, mix 3 tablespoons honey and 3 tablespoons warm water until the honey dissolves, then add ¼ cup fresh lemon juice to taste. (The amount of sweetness in this recipe is similar to "30% sweet" when ordering drinks/desserts at Taiwanese tea shops in the US.) Set aside.
- Once the jelly is set it should jiggle when you move the bowl and look like jelly, but softer. Cut the aiyu jelly or scoop with a spoon into serving bowls. Top with 1 tablespoon of honey lemon water, a slice of lemon or lime (optional), and ice. Serve immediately.
equipment and highlighted ingredients
notes
- When rubbing the aiyu seeds filled pouch in the water, use a gentle washing motion. Avoid over agitating the seeds since you want to keep the insides of the seeds intact. When broken, the middle of the seeds release a compound that may prevent the jelly from forming.
- Make sure your hands and all equipment that comes into contact with the aiyu seeds are clean and free from any oily residues prior to use.
- In bubble tea (boba)
- Over Taiwanese shaved ice
- With winter melon tea
- With passion fruit green tea
- With Taiwanese apple cidra soda (affiliate link) or a mix of apple cider and sparkling water
🌡️ food safety
- Wash hands before handling the aiyu jelly fig seeds
- Don't leave food sitting out at room temperature for extended periods
- See more guidelines at USDA.gov.

